
Recommended by


MICRODIAL : Tapering Jig
Get 20% OFF the MicroDial Tapering Jig!
Create precision 2, 4, 6, or 8-sided tapered legs quickly and easily. Add even more detail and create custom profiles on the router table. Use with the GRR-RIPPER for unmatched control and award-winning safety.


Best Sellers.
Essentials and top rated products for working faster, safer, and more precisely.

GRR-RIPPER 2GO
GRR-RIPPER 2GO

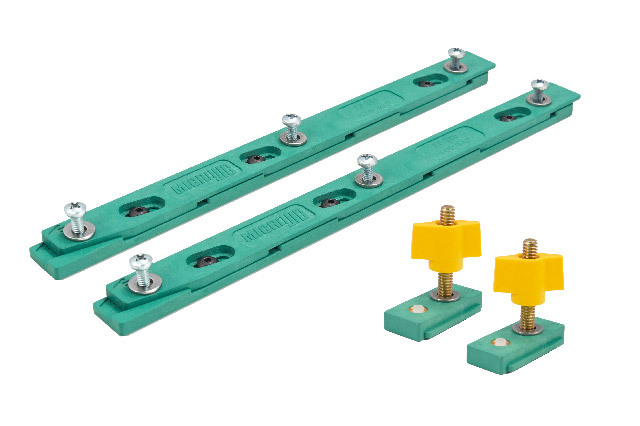
MATCHFIT Dovetail Ratchet Clamp AP
MATCHFIT Dovetail Ratchet Clamp AP

FITFINDER Lock Miter Bit
FITFINDER Lock Miter Bit

MATCHFIT Dovetail Clamp (2-pack)
MATCHFIT Dovetail Clamp (2-pack)

MATCHFIT Dovetail Clamp Pro
MATCHFIT Dovetail Clamp Pro

GRR-RIPPER Complete (2-Pack)
GRR-RIPPER Complete (2-Pack)

BLADECLEAN Blade and Bit Cleaning System
BLADECLEAN Blade and Bit Cleaning System

FITFINDER 1/2 Gauge
FITFINDER 1/2 Gauge

GRR-RIPPER 3D Pushblock
GRR-RIPPER 3D Pushblock

GRR-RIP BLOCK Smart Pushblock
GRR-RIP BLOCK Smart Pushblock

GRR-RIPPER Complete
GRR-RIPPER Complete

GRR-RIPPER Advanced
GRR-RIPPER Advanced
FITFINDER : Automatic Measurements
FitFinder Lock Miter Bit
The FitFinder Lock Miter Bit features the Center Finding Platform milled into the bit body at the precise center of the cutting profile. A solid measuring point to set the correct bit height the first time. Once the height is correct, only the fence needs to be adjusted to perfect the fit. This simplifies router table setup for perfect joints with minimal test cuts and wasted stock.
WOOD Innovate Awards 2024
Woodworking tools for speed, safety, and precision.
Make every inch of your shop more functional with our family of brands. Discover the difference that thoughtfully designed and engineered tools make on your next project.


Grr-Ripper : 3D Pushblock System
Don't use a table saw without it.
Get unmatched control and protection while cutting precise projects on your table saw, router table, jointer, and bandsaw.


What experts are saying.
Microjig woodworking tools are recognized as the world's leader in table saw accessories, selling over 1,800,000 units in 37 countries—and counting! See what industry experts have to say.

By far the most useful push block.
I use the GRR-RIPPER every week in my shop. It is by far the most useful push block I’ve ever seen. For two main reasons in my opinion: First, the grip is superior to any other product on the market. Second, its design and adjustability. Those features make it invaluable and totally unique.

Safety and efficiency.
“The GRR-RIPPER 3D Pushblock is an integral part of Woodworking for Mere Mortals. By increasing my personal safety and improving my cuts, I am able to work more efficiently and focus my attention on what I love: inspiring people to have fun making awesome things.”

My biggest tip for shop safety!
“I’ve been using the GRR-RIPPERs like crazy. They work really, really well. It’s astonishing how well those things grip. I have the utmost confidence when I go over my blade that I'm not gonna get hurt.”

The safest pushblock.
"Chris Grundy shows what makes the GRR-RIPPER the safest, most precise pushblock on Cool Tools. DIY Network’s Cool Tools answers viewers’ burning workshop questions, and gives them the inside scoop on the latest tools and techniques."

Now you can build fences
of any height.
MICROJIG has an innovative new solution in its MATCHFIT™ Dovetail Clamps that can eliminate clamping interference and improve versatility. Instead of the clamp arm being rectangular in cross-section, Matchfit’s clamp head takes theshape of a ½-in., 14-degree dovetail.

The GRR-Ripper is an
ingenius safety device.
Most power tools can injure you in two primary ways: kickback or blade/bit contact. The GRR-Ripper protects you from both types of injury. It not only allows you to have better control of the workpiece, it also protects your hands should disaster strike.

The MICROJIG MICRODIAL
Taper Jig is brilliant.
You may find the features a little daunting to start with, but once you get hands on and realize that these features are there to make your life easier, you’ll wonder how you ever did without it.
Matchfit : Dovetail tRack System
A ratchet clamp that defies gravity.
Introducing the MatchFit Dovetail Ratchet Clamp AP. Most clamp arms are free to fall down when released forcing you to reset them every time you secure them, but not Microjig’s Ratchet Clamp. Our exclusive “Anti-Pivot” AP Spring holds the arm where you set it. Now you can release the pressure, move your stock, and reclamp without needing to adjust the arm, upside down or right side up.
