
Why We Improved the ZEROPLAY Miter Bars
April 2, 2026
Why did we change from the ZEROPLAY ZP9 to the ZP750? I am glad you asked (even if you did not ask)!
The change started as the original ZP9 mold (referred to as a tool) was reaching the end of it’s useful life. Injection molds only last so long before they need to be remade. Since we needed to remake the tool, we decided to incorporate some improvements we figured out during years of ZEROPLAY use and customer feedback. They are easy to tell apart, the original ZEROPLAY Miter Bars were molded in black plastic and the new ZP750 Miter Bars are molded in green.
Both work the same way in the miter slot. The body in made of two parts that slide at angles to one another making them wider or narrower to precisely fit your slot. The big difference between the two is how they are set and adjusted to fit your miter slot.
The ZP9 was adjusted in the miter slot before attaching it to the sled base. The bars are closed until the ZEROPLAY is as narrow as possible then the ends are gently pushed toward each other until the ZP9 is touching both sides of the miter slot. Use the included Allen wrench to retighten the lock screws.
The ZP9 is then mounted to your sled base and tested for fit in the miter slot of your table saw. If the fit is not right, the ZP9 must be removed from the base and adjusted again, testing until it slides smoothly with no side-to-side play. It has always been a great product, but we had a couple of improvements to make with the new mold.
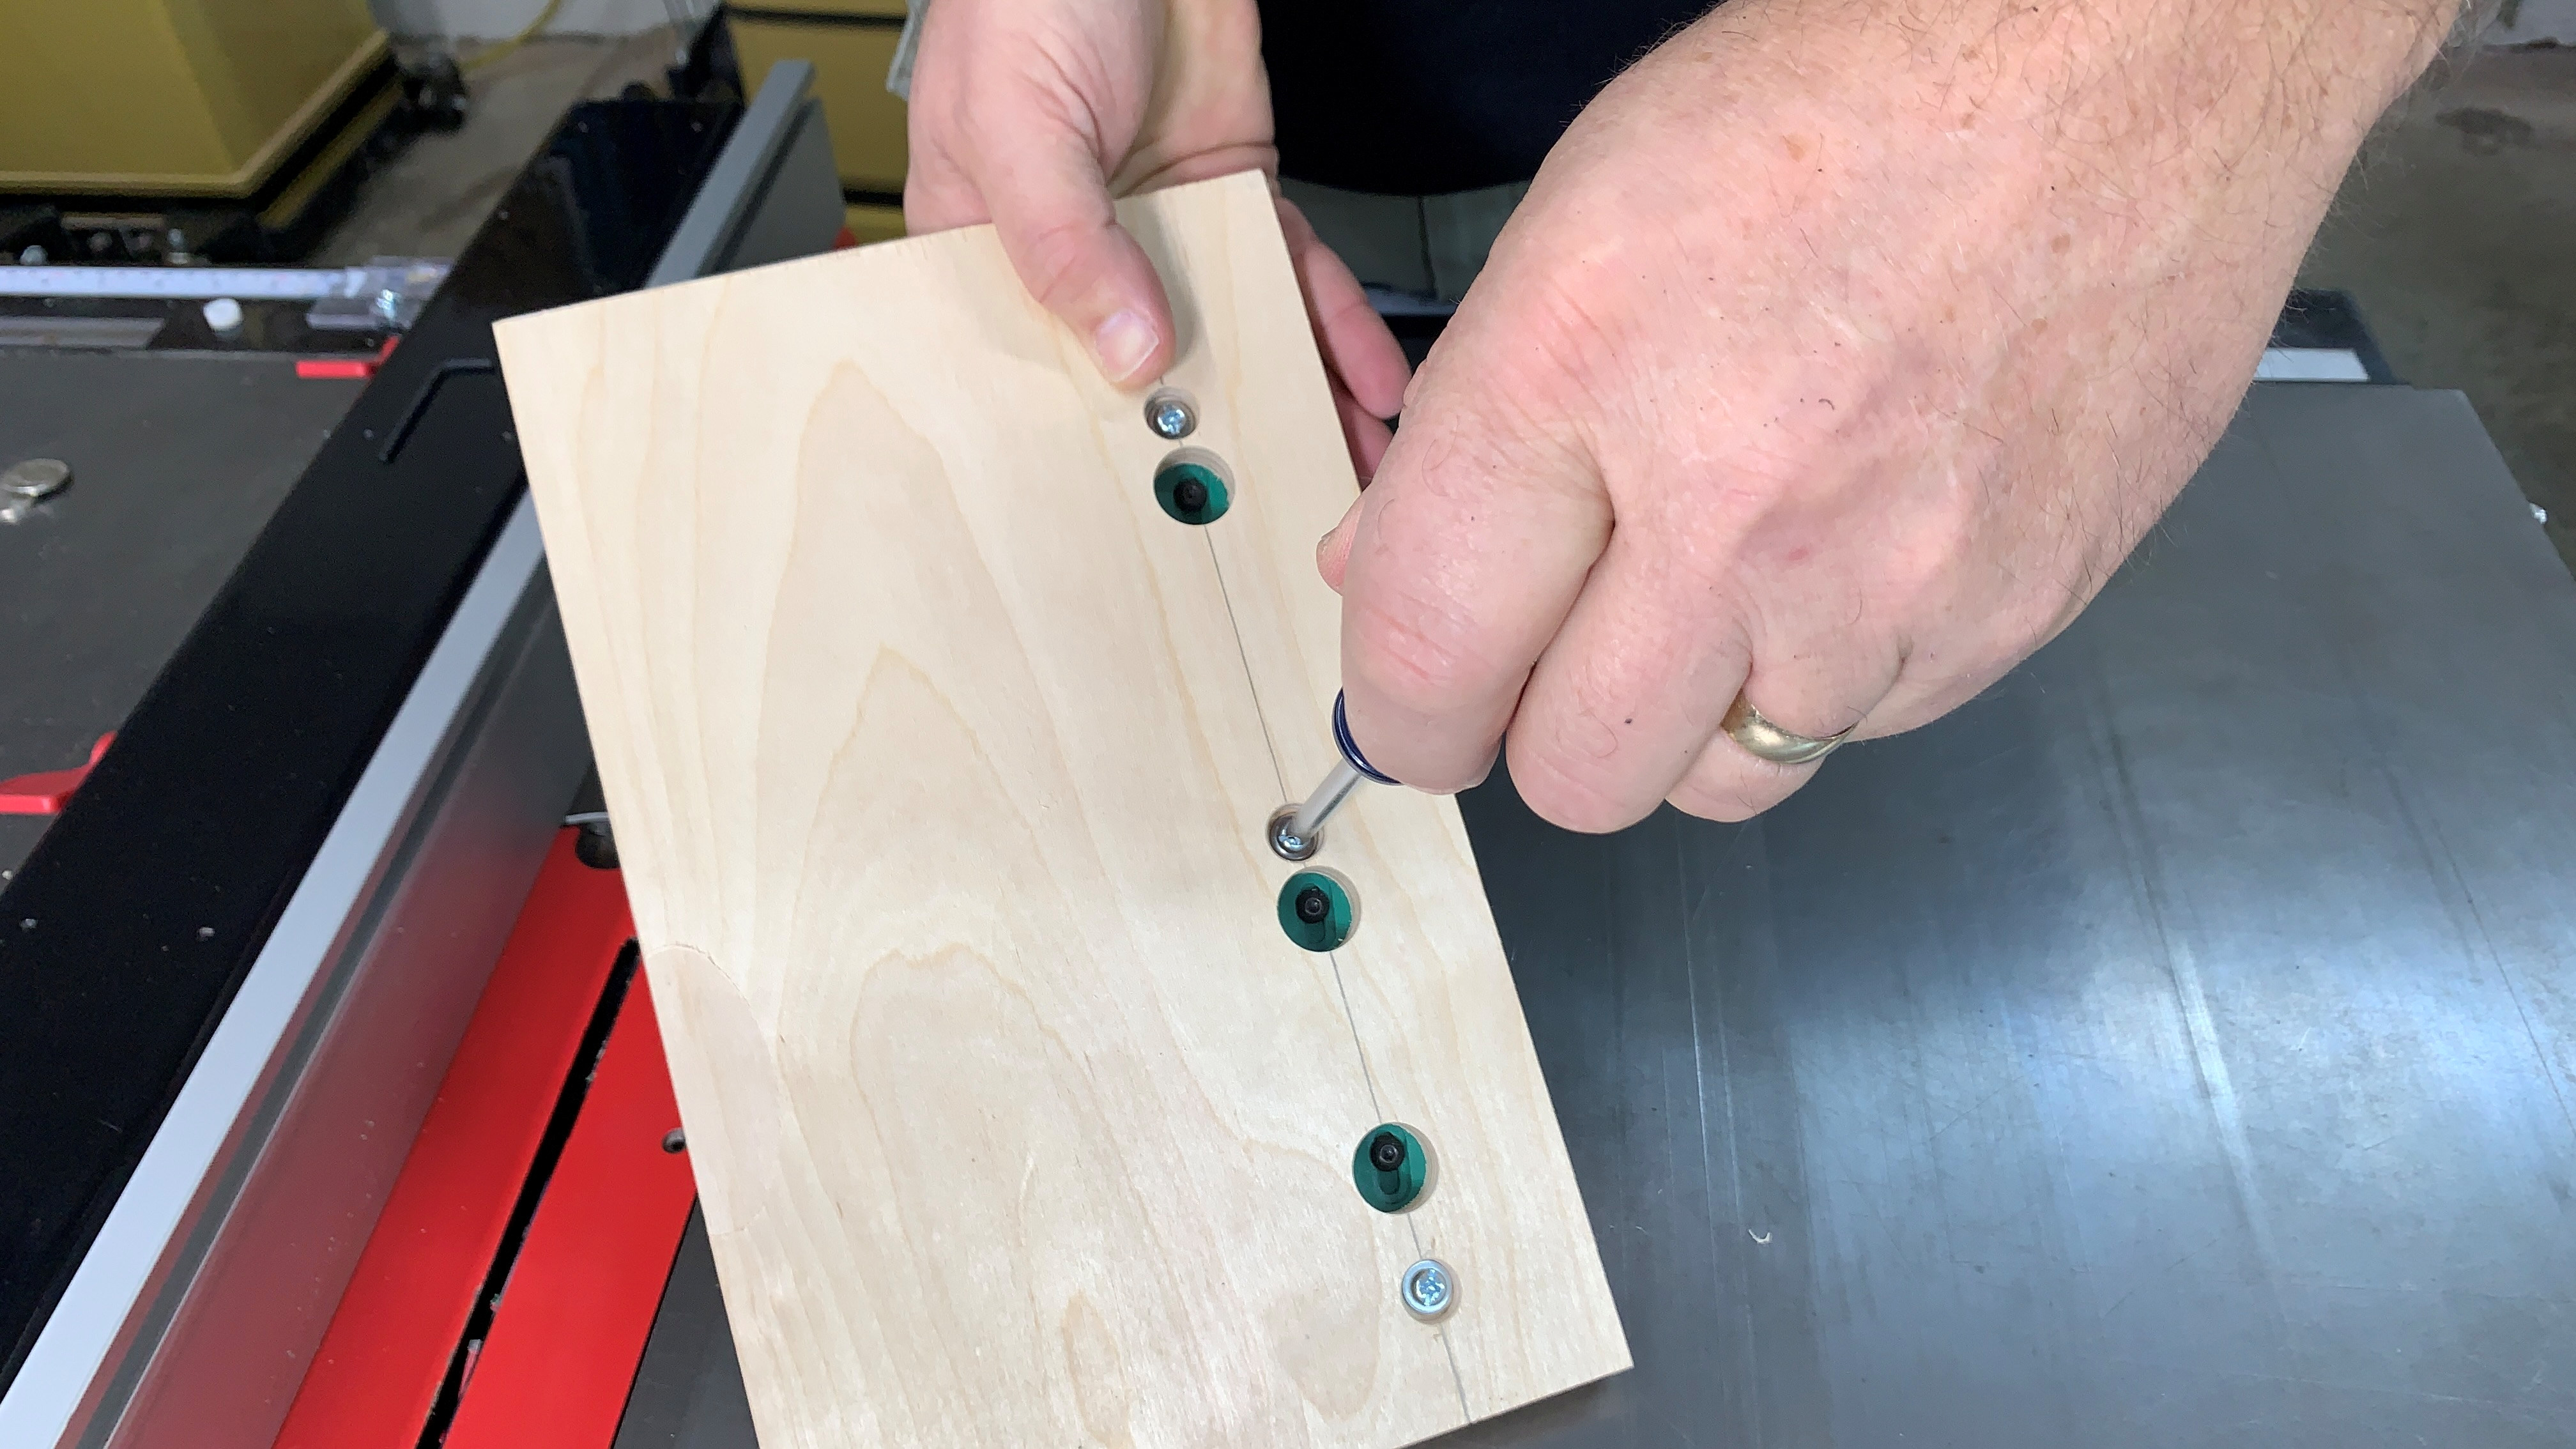
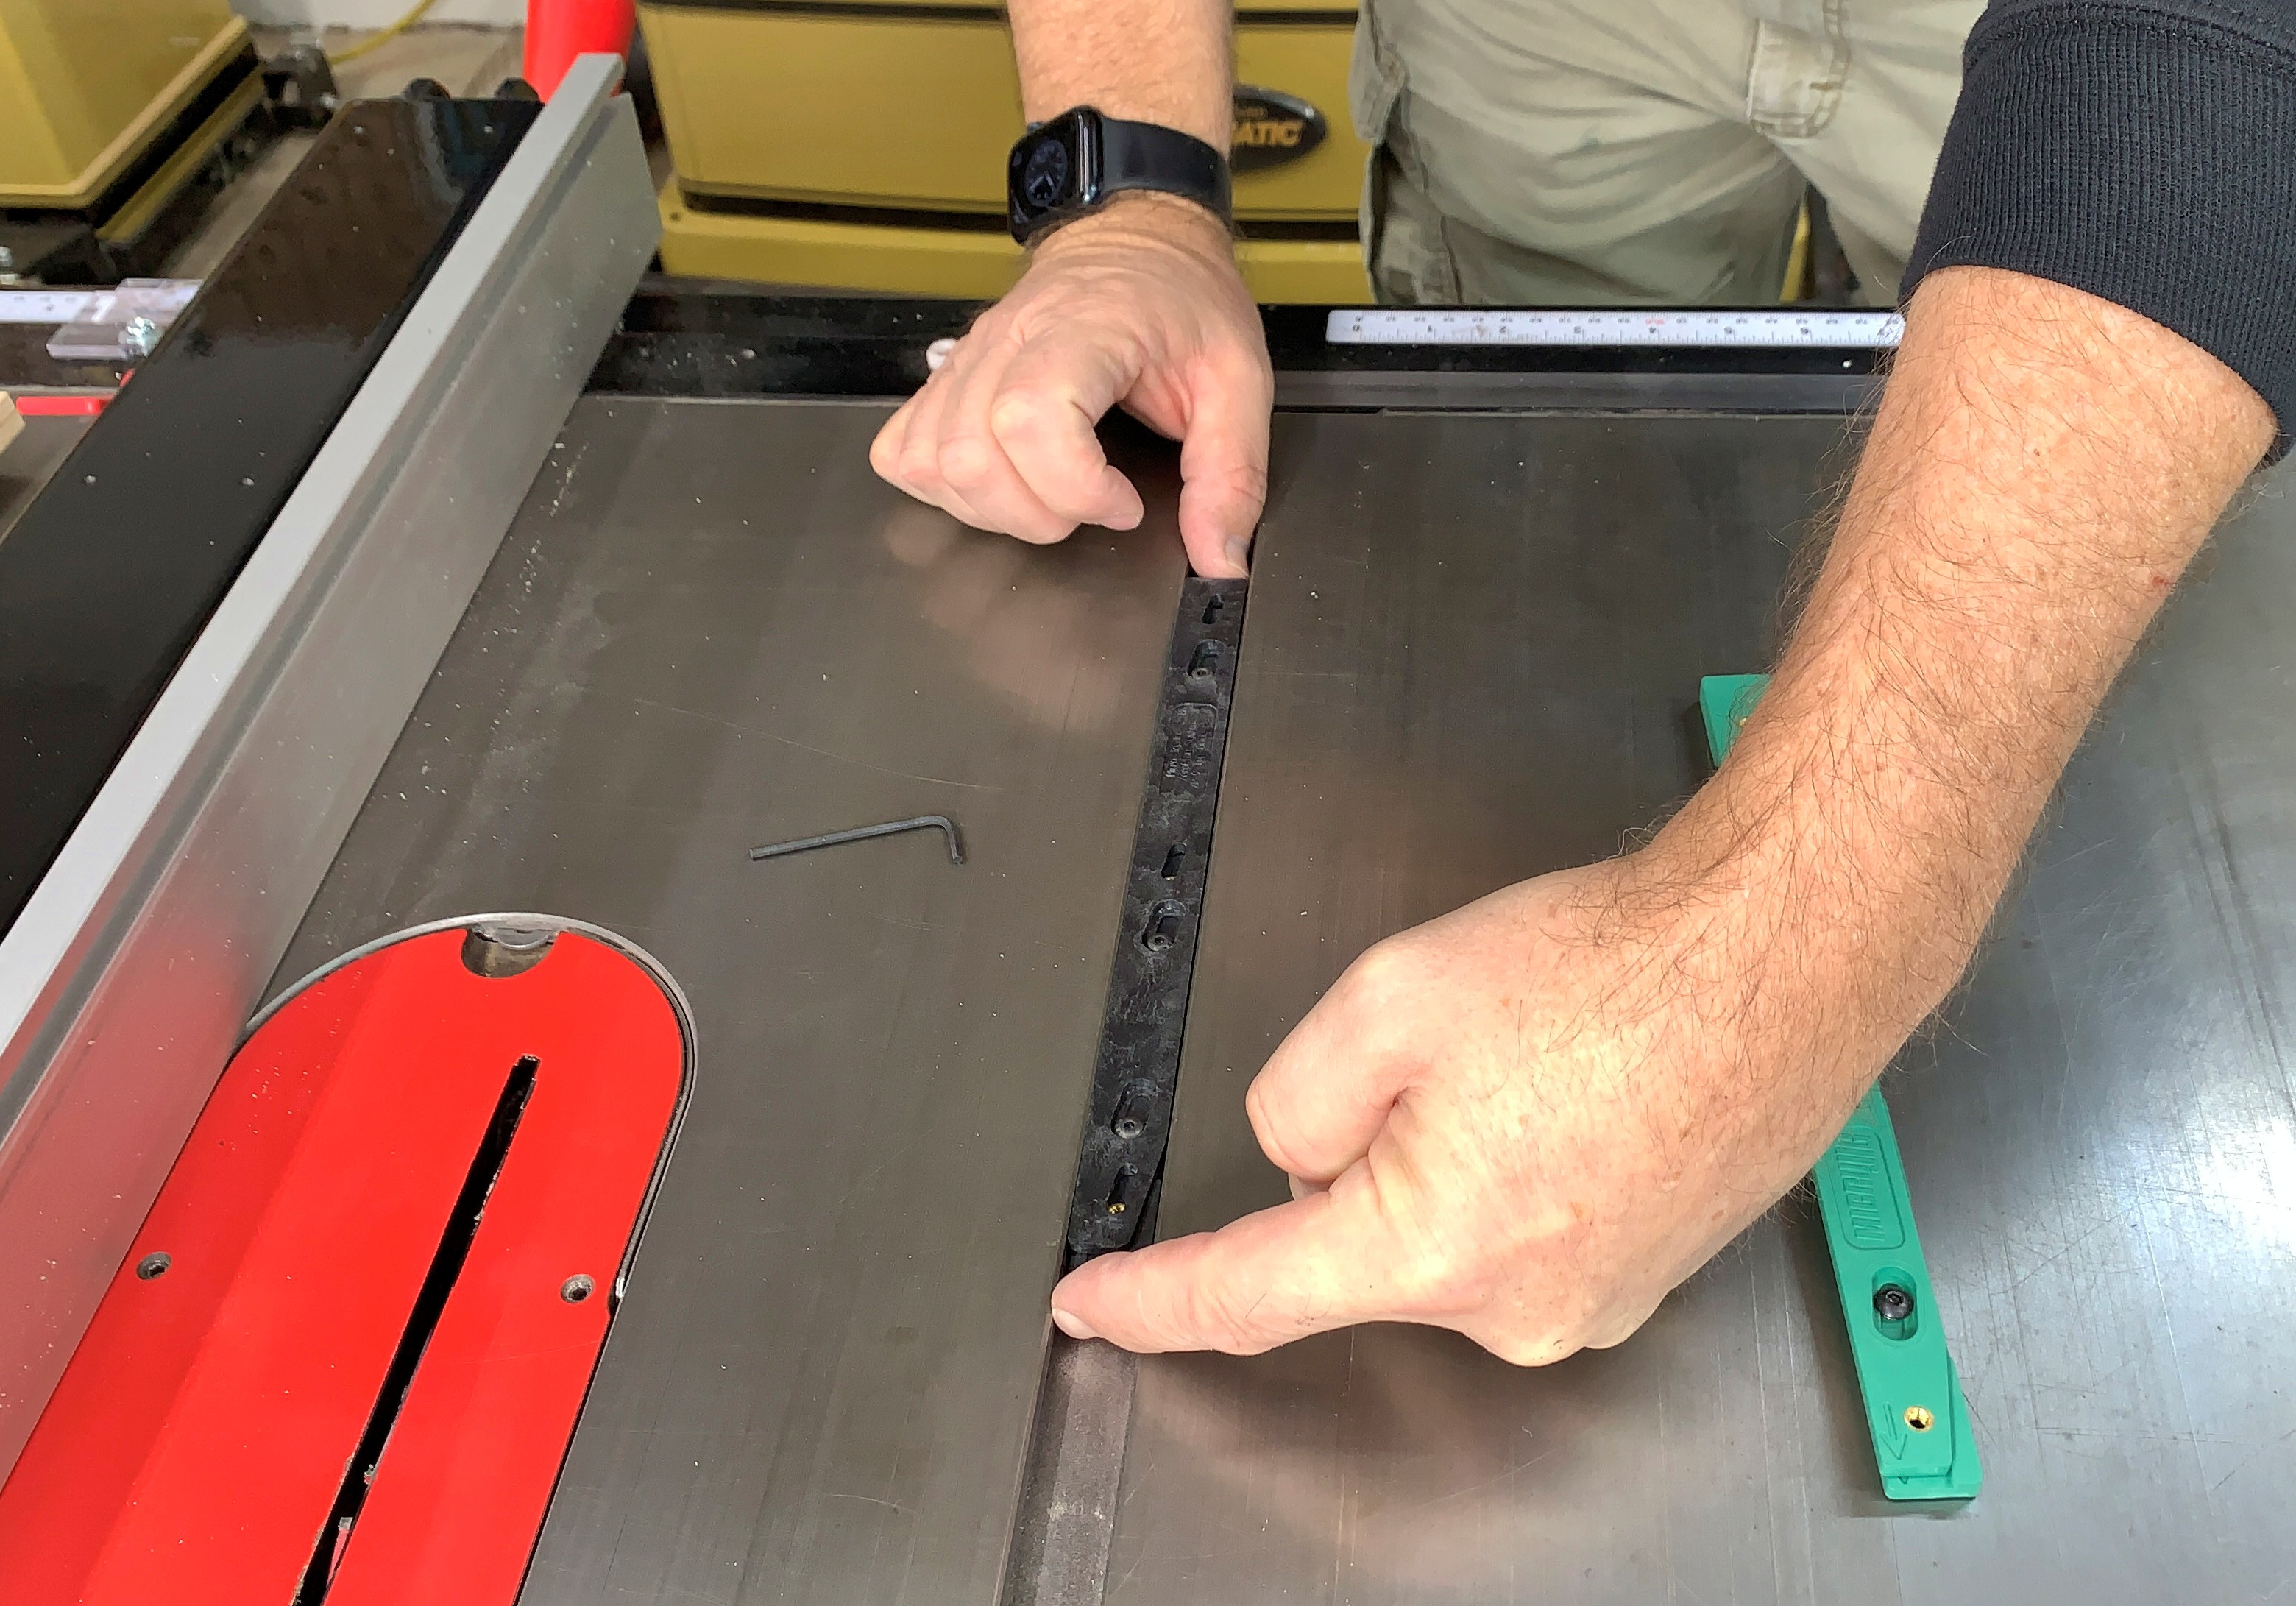
The big difference with the ZP750 Miter Bar is that you mount it to your sled base first, then adjust the fit in your miter slot, working through holes drilled in the base. The drill guide that comes in the ZEROPLAY package locates three additional 3/4" (19mm) holes for you to drill. These let you calibrate the bar on the jig. With the ZEROPLAY Miter Bar at the narrowest setting, place it in your miter slot. Press the sled to the right so the miter bar is against the side of the slot, then use the included Allen wrench to pull the screw head back until the miter bar just touches the left side and secure the three screws.
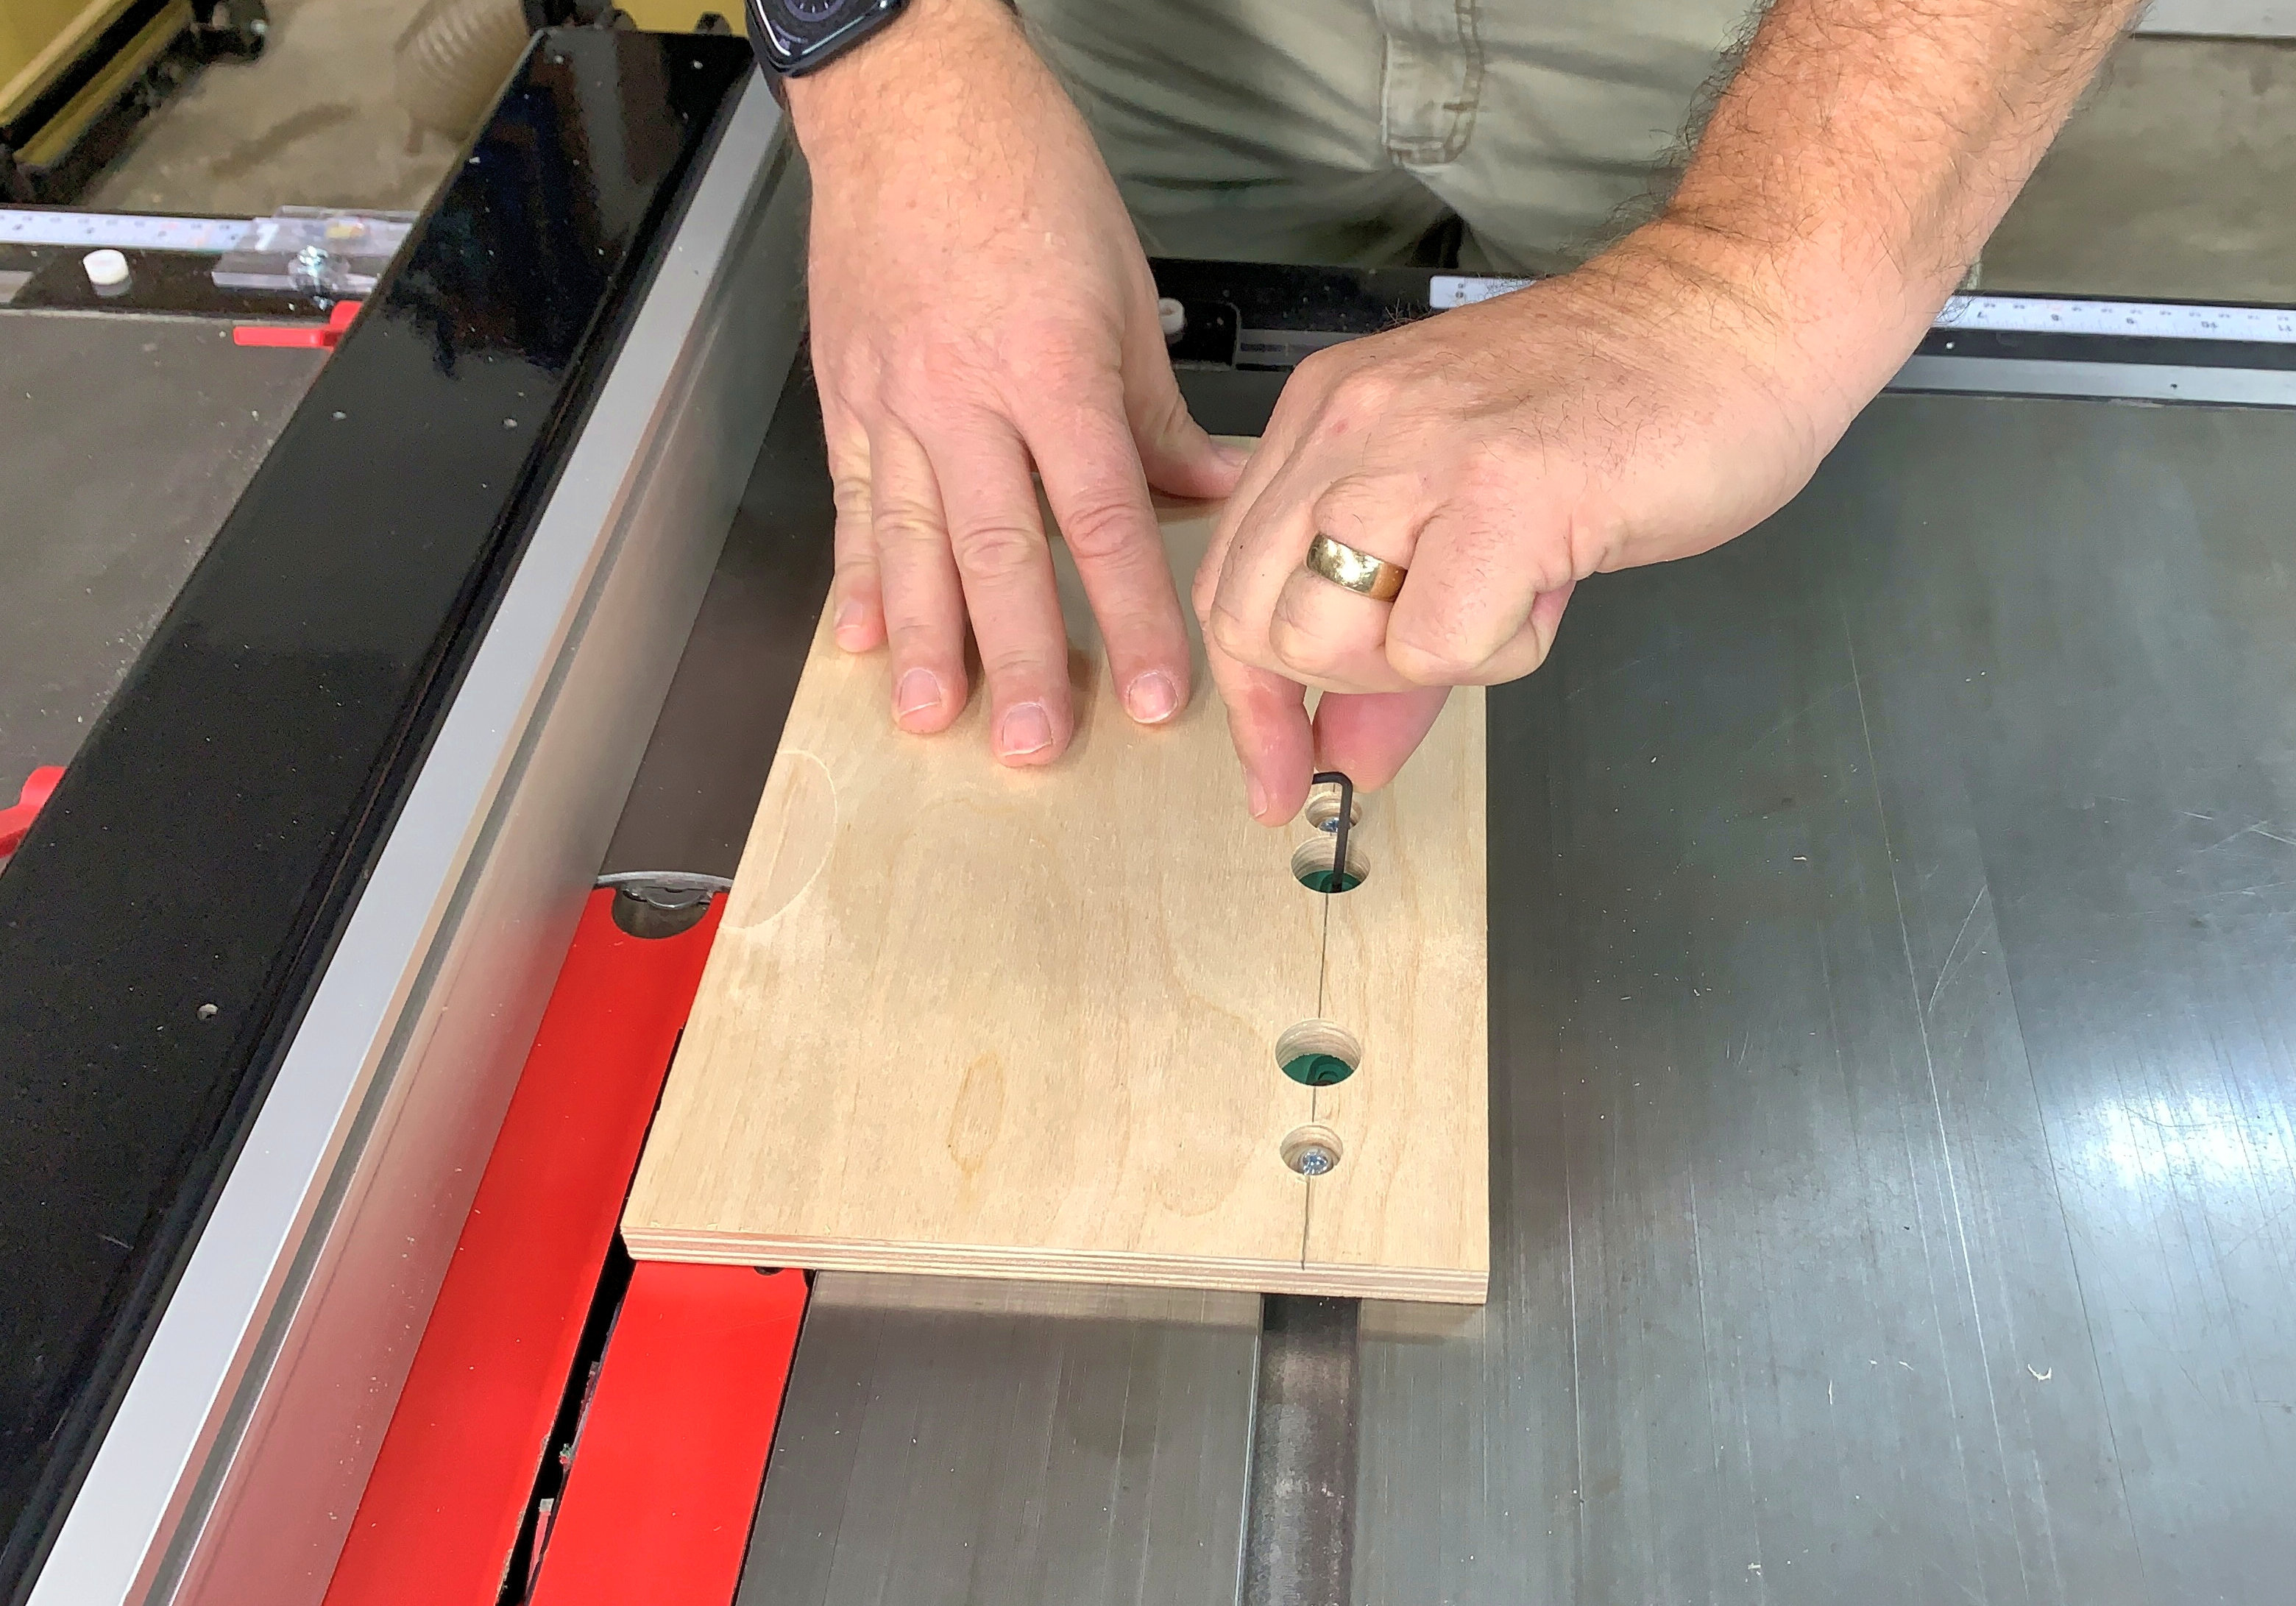
Test the fit sliding the sled forward and back and try to move it side to side. Usually, you will get the fit right the first time. If not, just loosen the lock screws and try again, no need to remove the ZEROPLAY from your table saw sled. This quick adjustment feature is really valuable on sleds you move from machine to machine. You can have one sled for the table saw, router table and band saw instead of making one for each.
The other change we made is less obvious; The adjustment range of the ZEROPLAY Miter Bar used to be 0.730” (18.5mm) to 0.790” (20.1mm). With the new product, this is 0.720” (18.3mm) to 0.780” (19.8mm). This was done to accommodate certain models of ShopSmith machines that have unusually narrow miter slots.


