Set Your Drill Press with the Fitfinder Upgrade Kit
June 10, 2026
The Fitfinder is an awesome tool for transferring measurements from parts to tools and the Upgrade Kit makes it even more useful. Let’s look at one example for setting up the drill press.
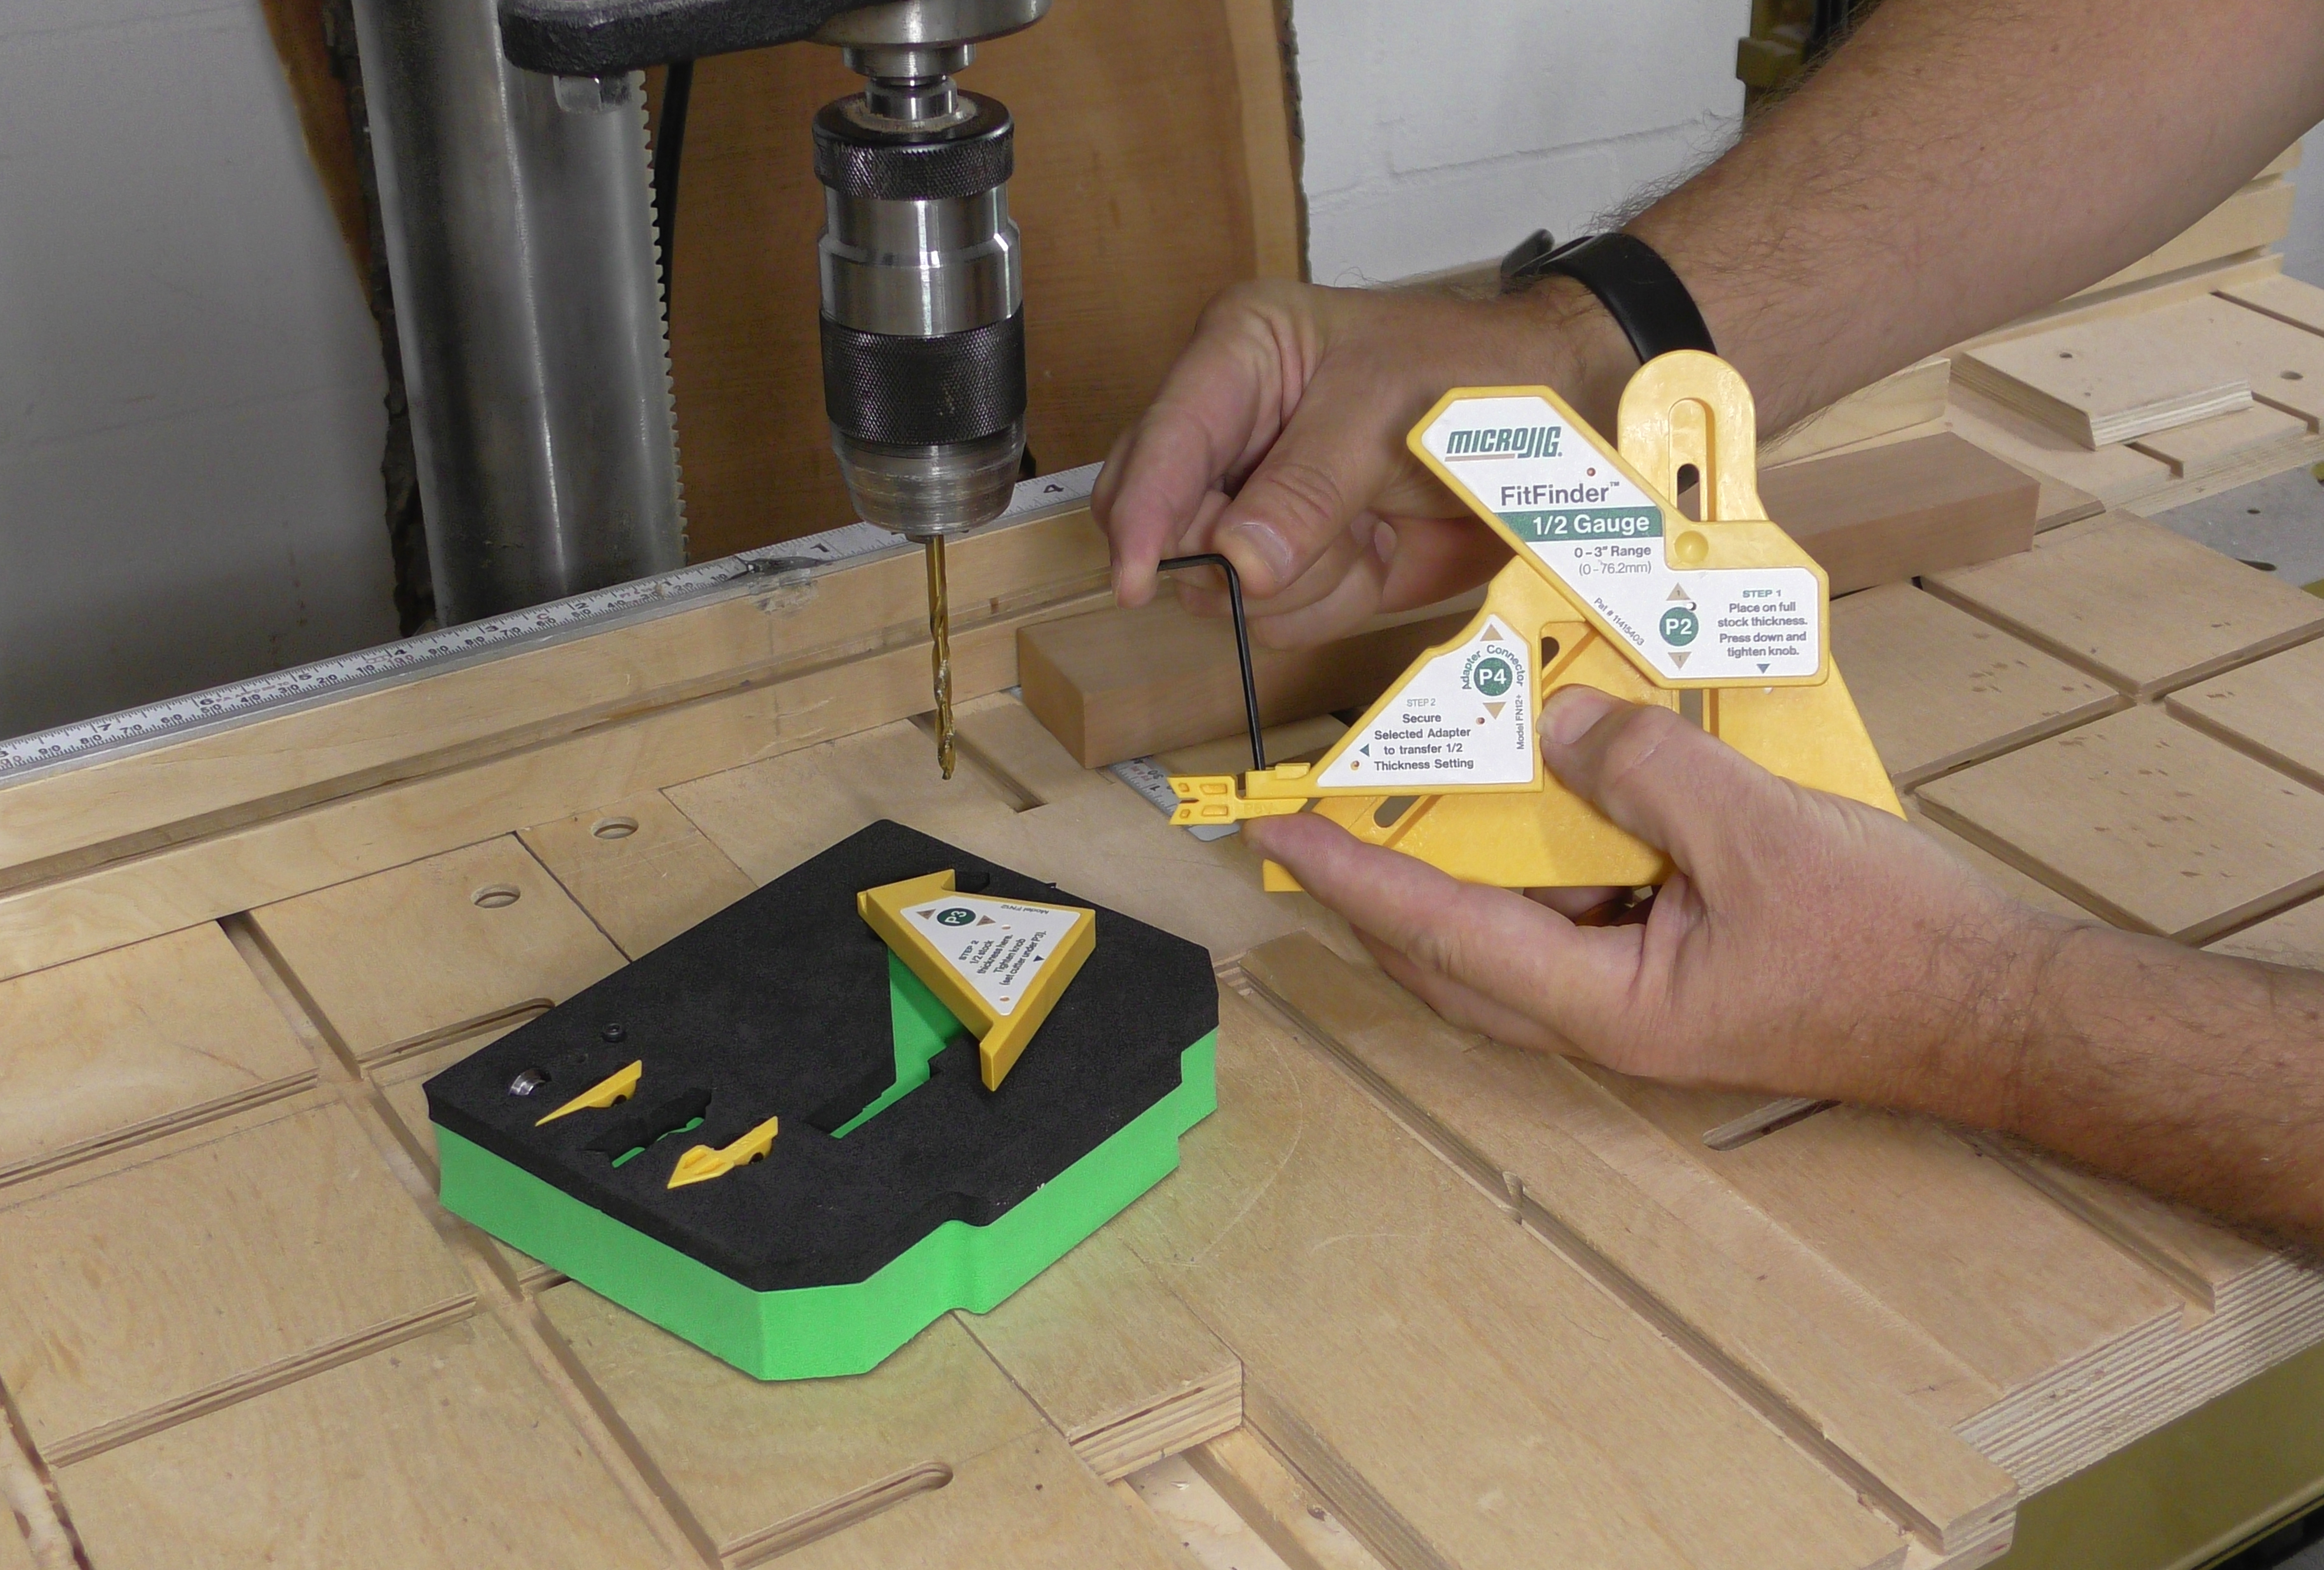
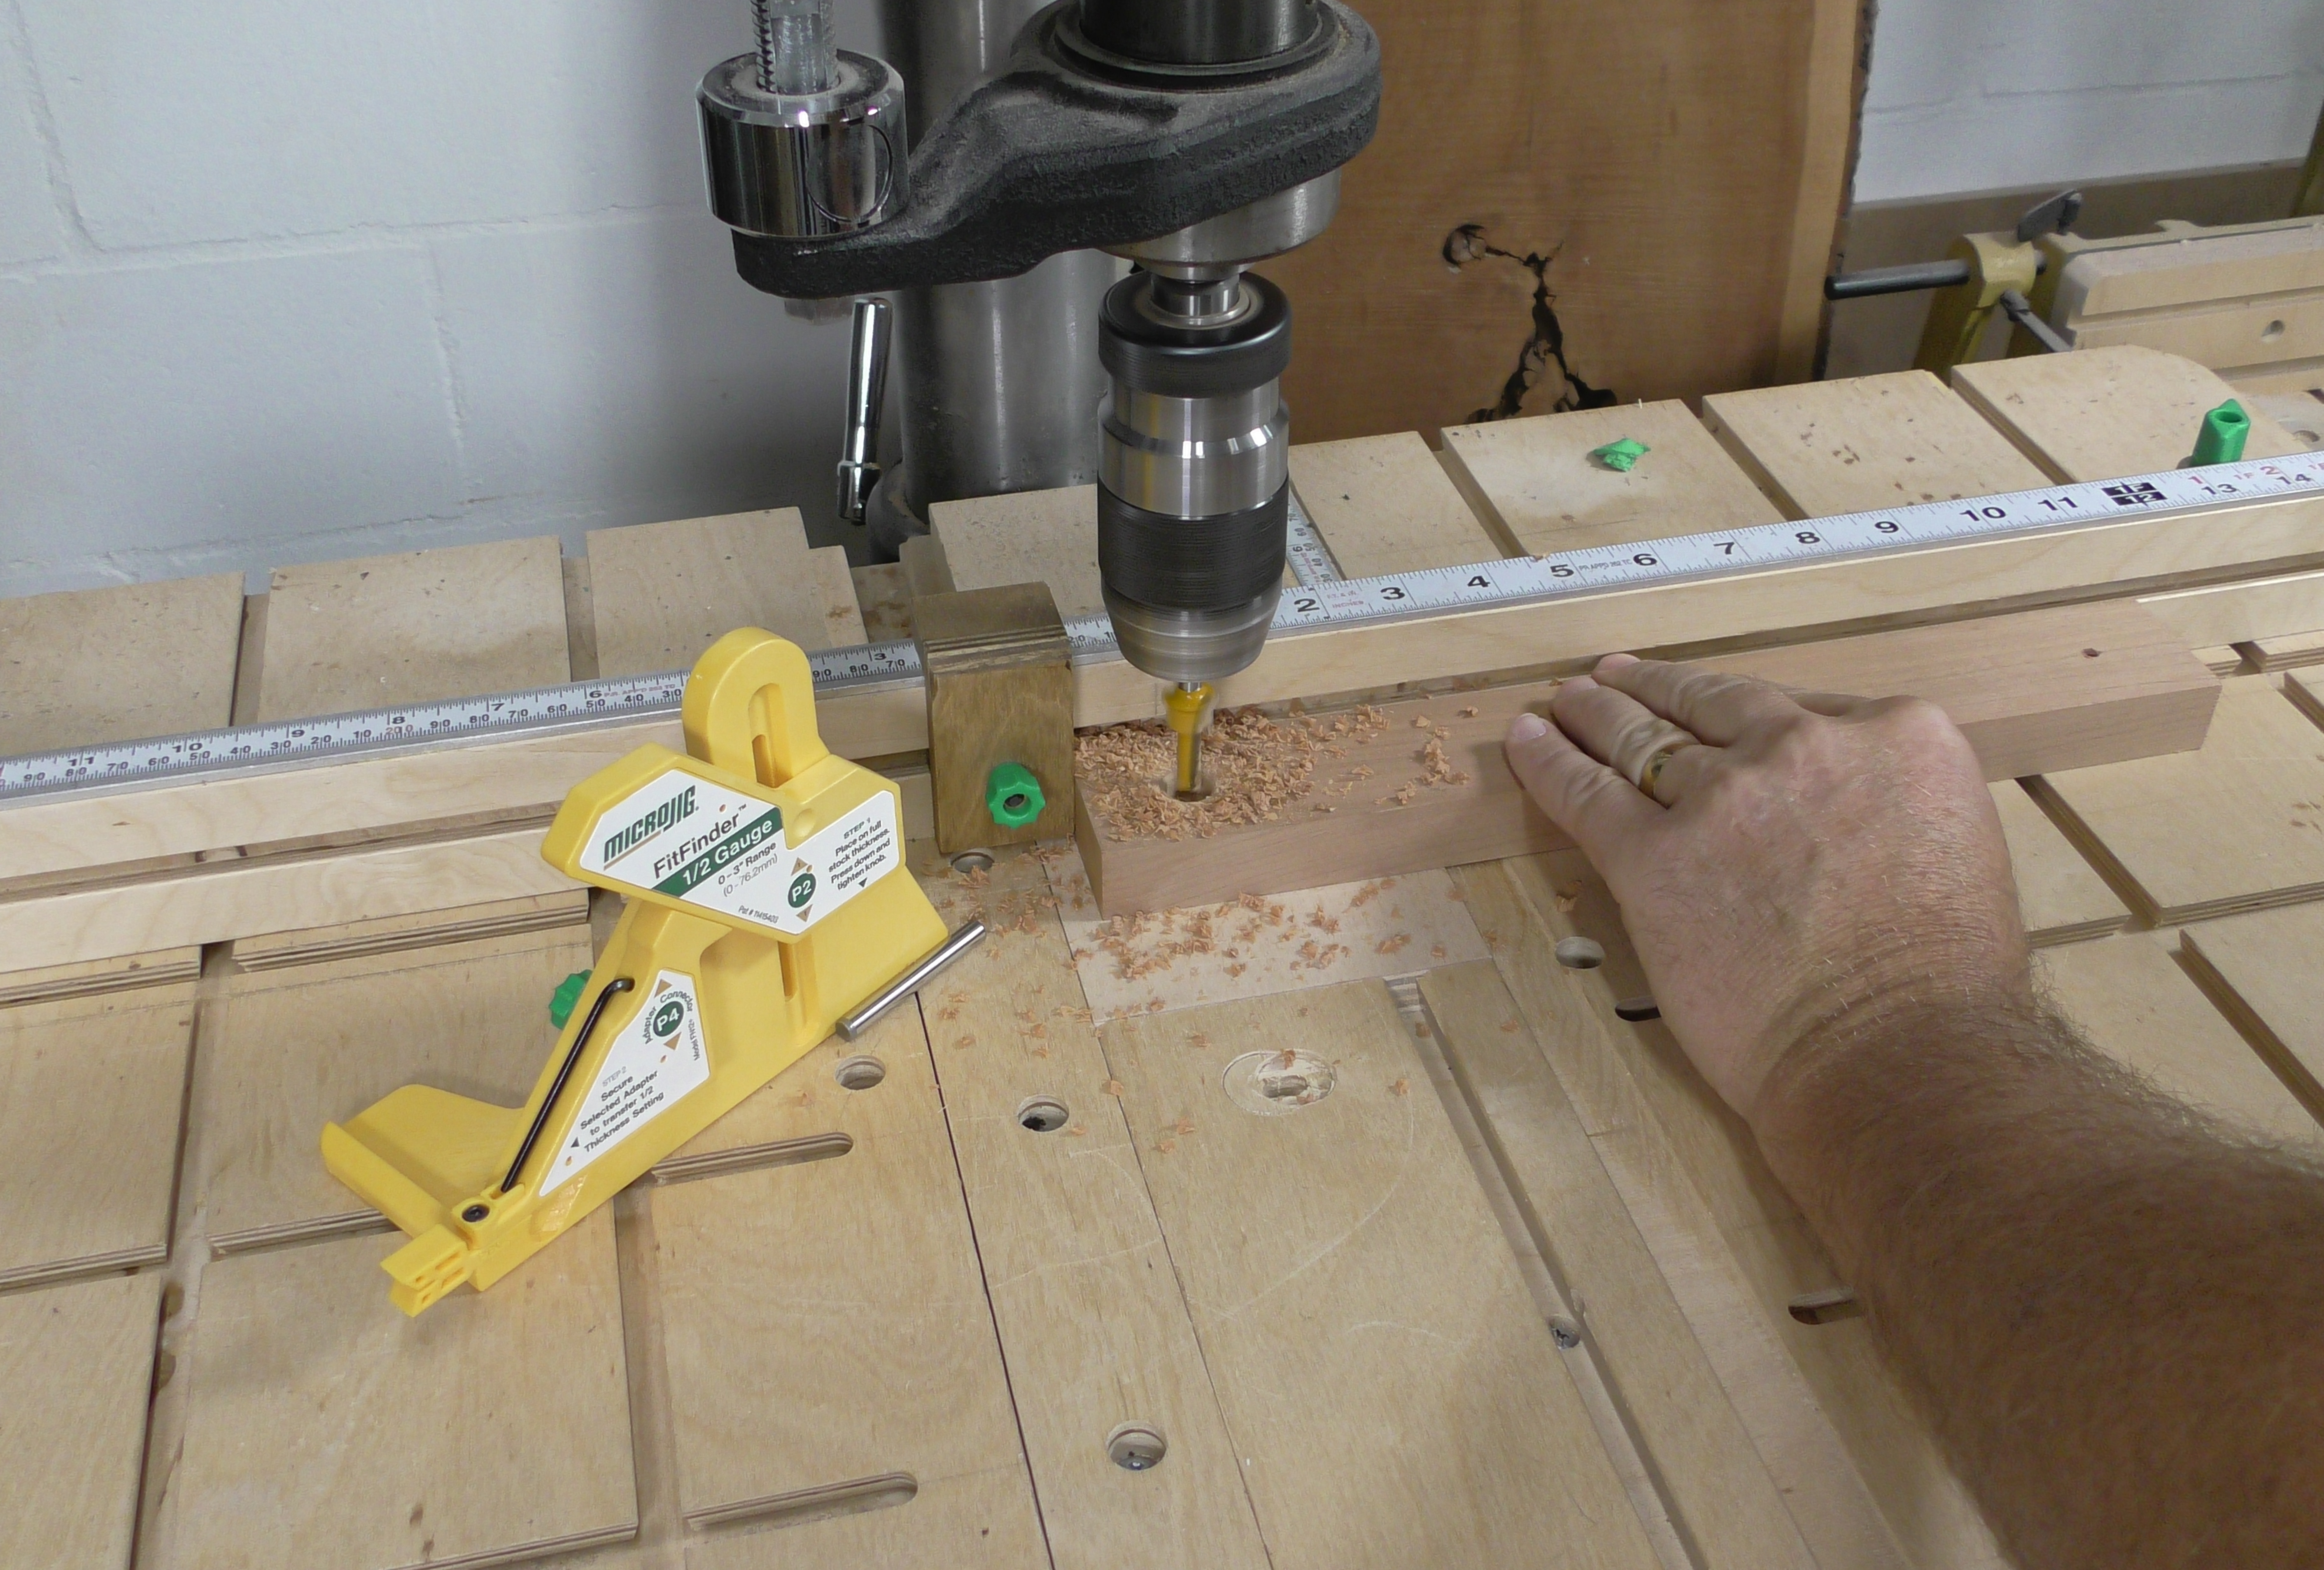
We often need to drill a hole in the exact center of our stock. The fence needs to be set to the center of the bit and the P6 V-Tip in the Upgrade kit is just what we need. Swap the P3 leg of the FitFinder for theP4 leg from the upgrade kit as shown in the instructions and attach the P6 tip to P4 using the included Allen wrench.
Measure the stock using the FitFinder as always, but this time we are measuring the width of the part rather than the thickness.

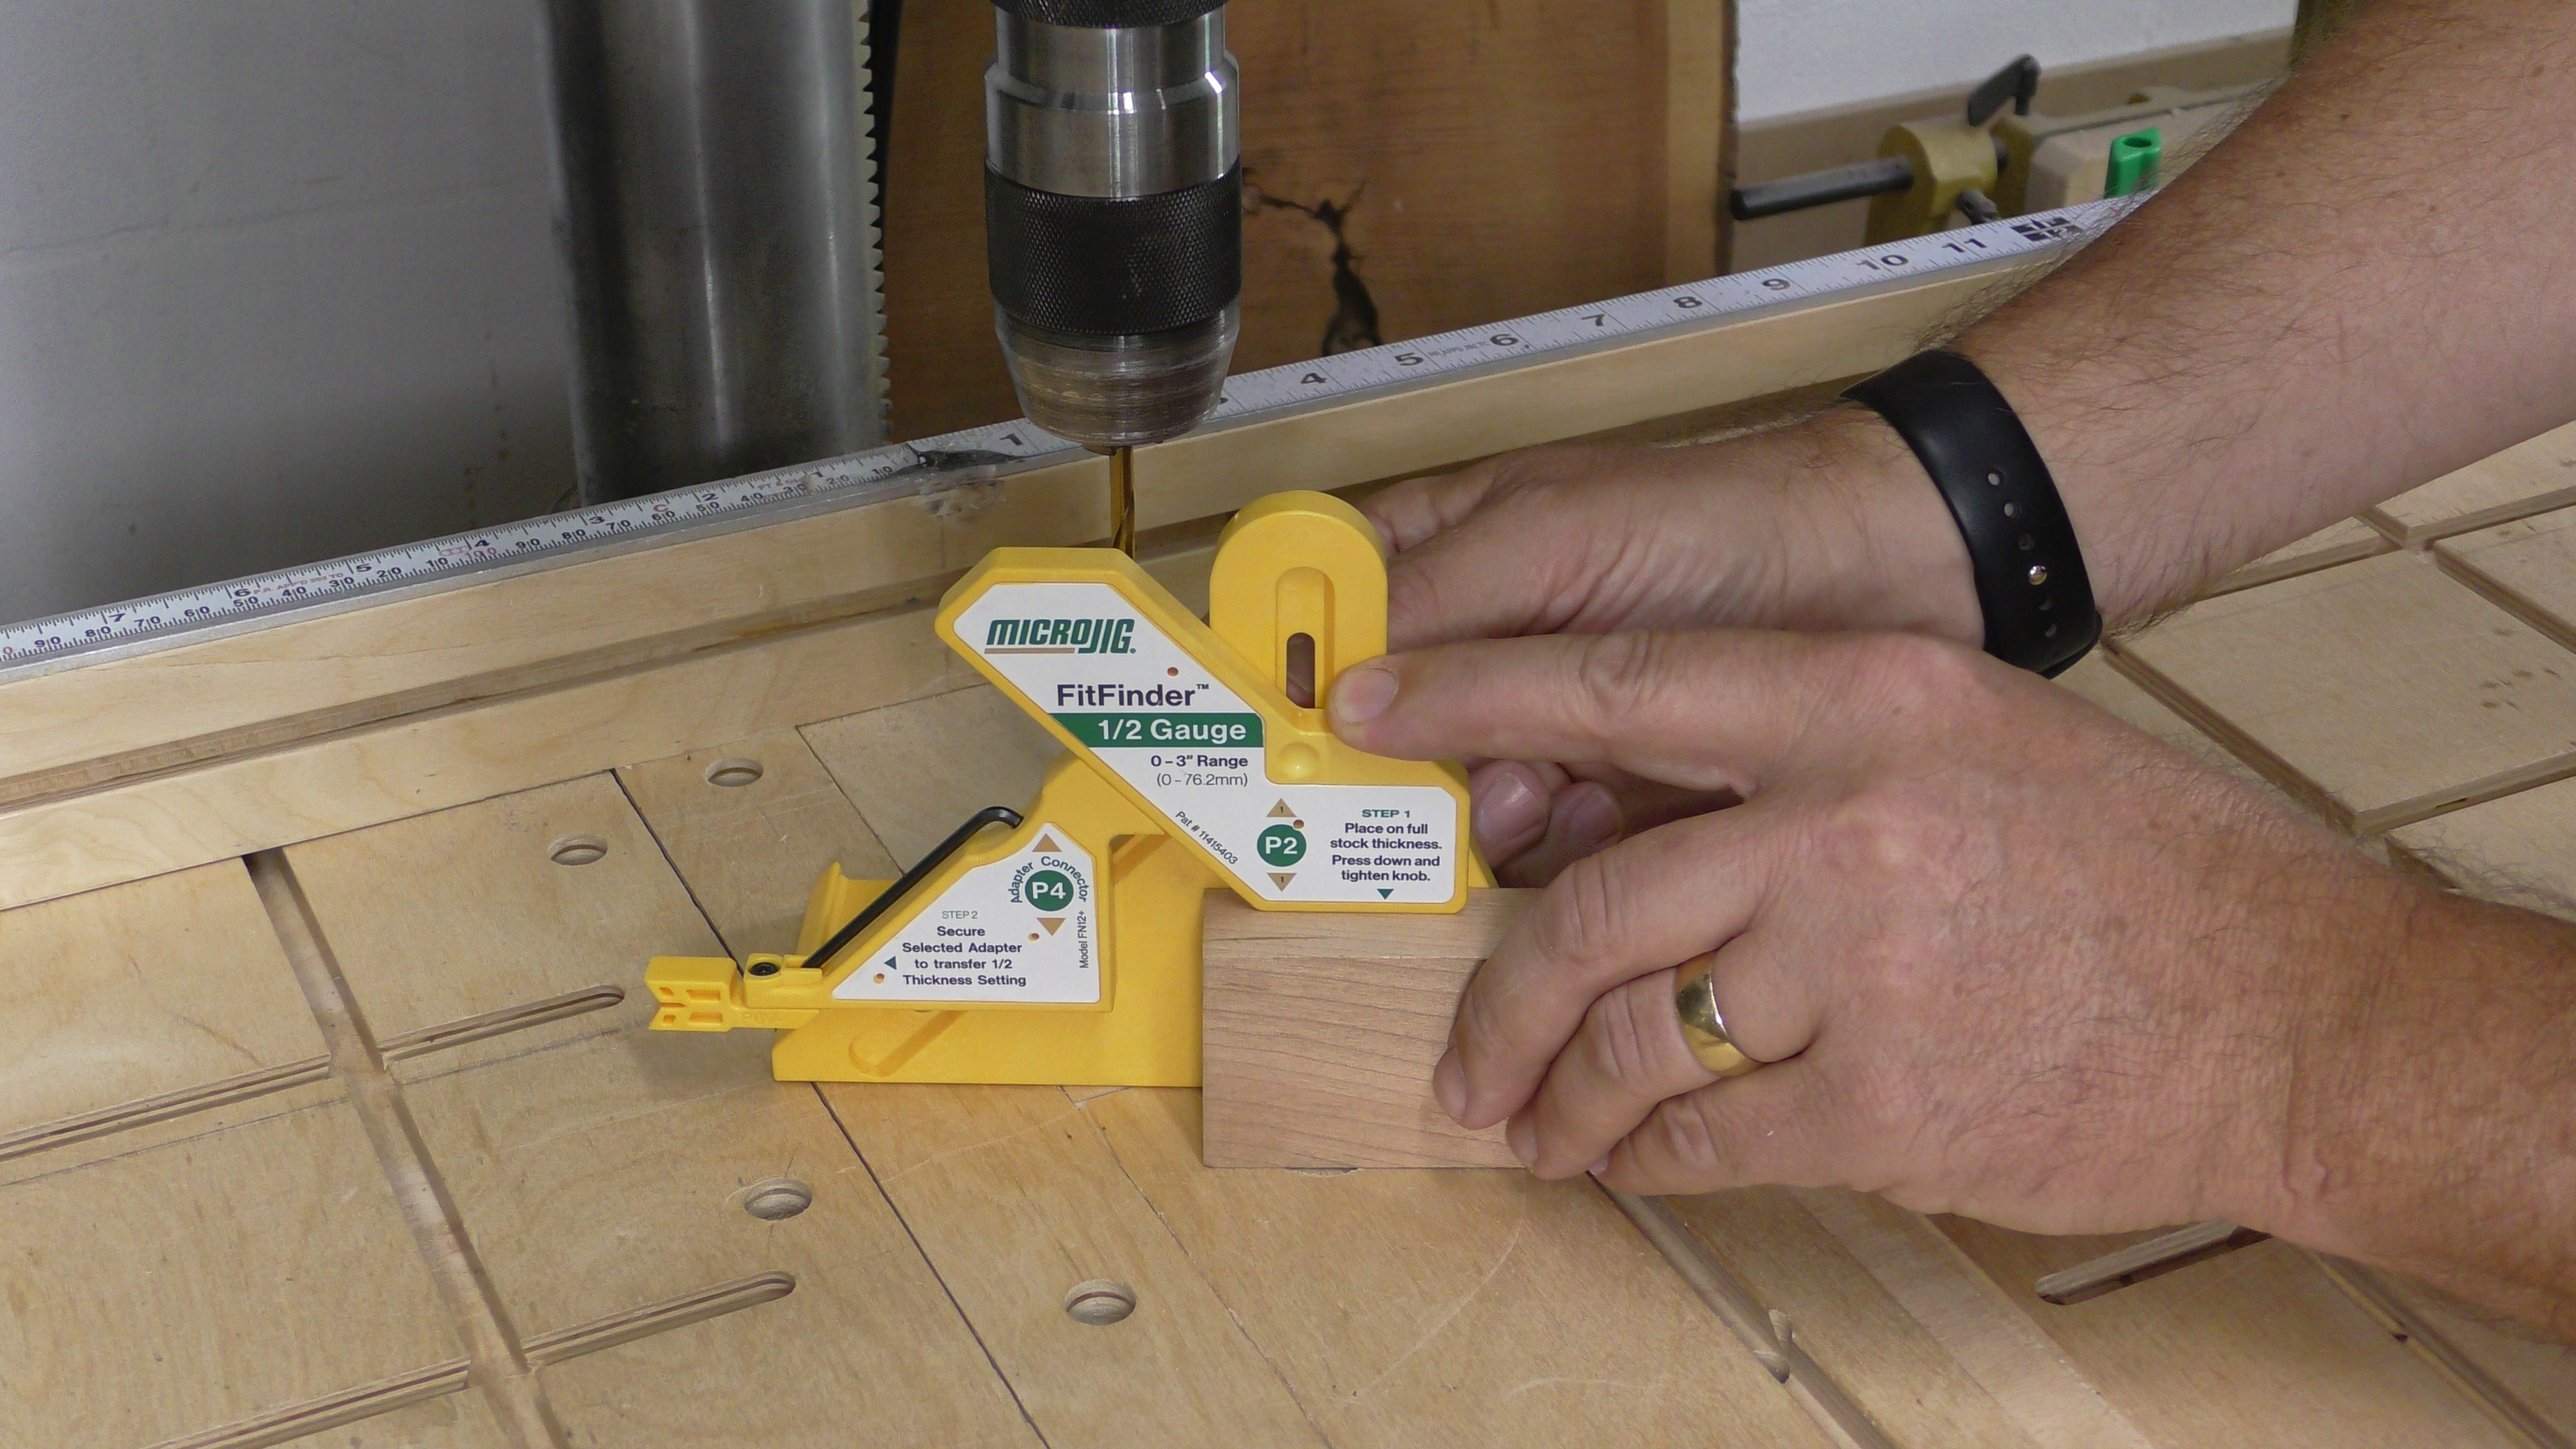
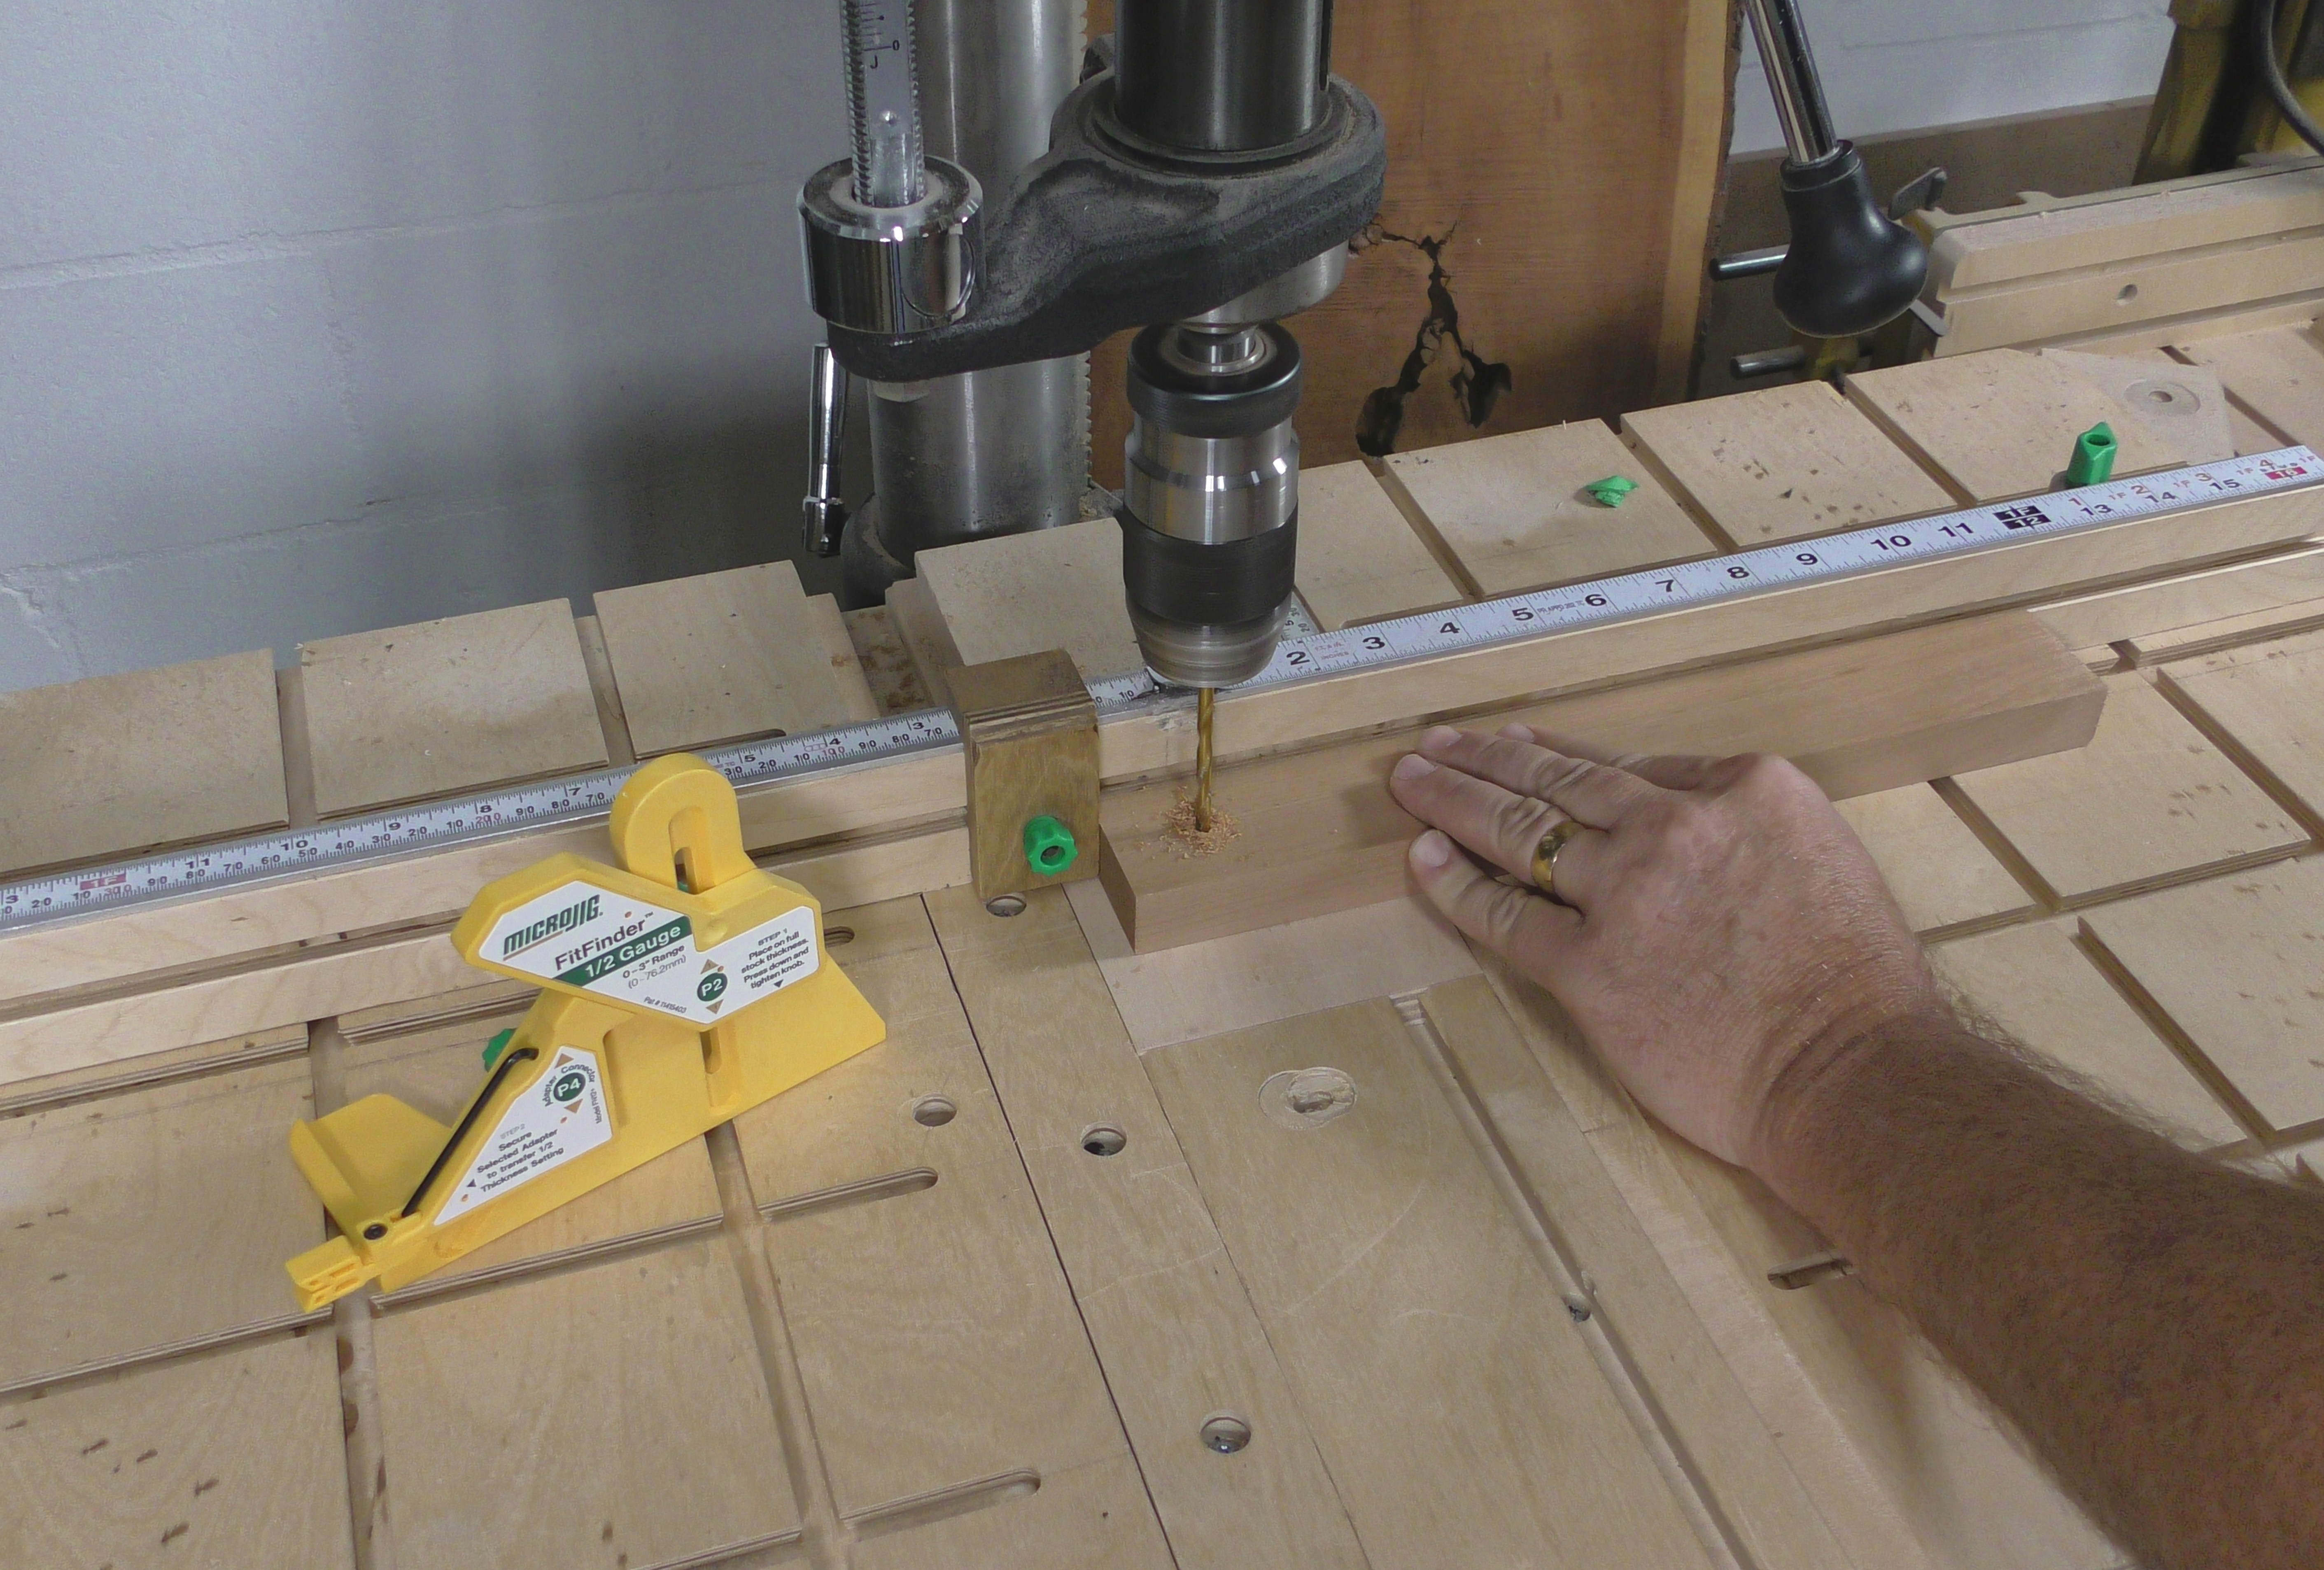
With the drill bit mounted in the chuck, gently press the Von P6 against the bit. The V will automatically center on the round bit. Set the Fitfinder on it’s side against the fence. I like to set the fence back, align P6 to the bit, then ease the fence forward until both legs of the Fitfinder are flat against the fence.
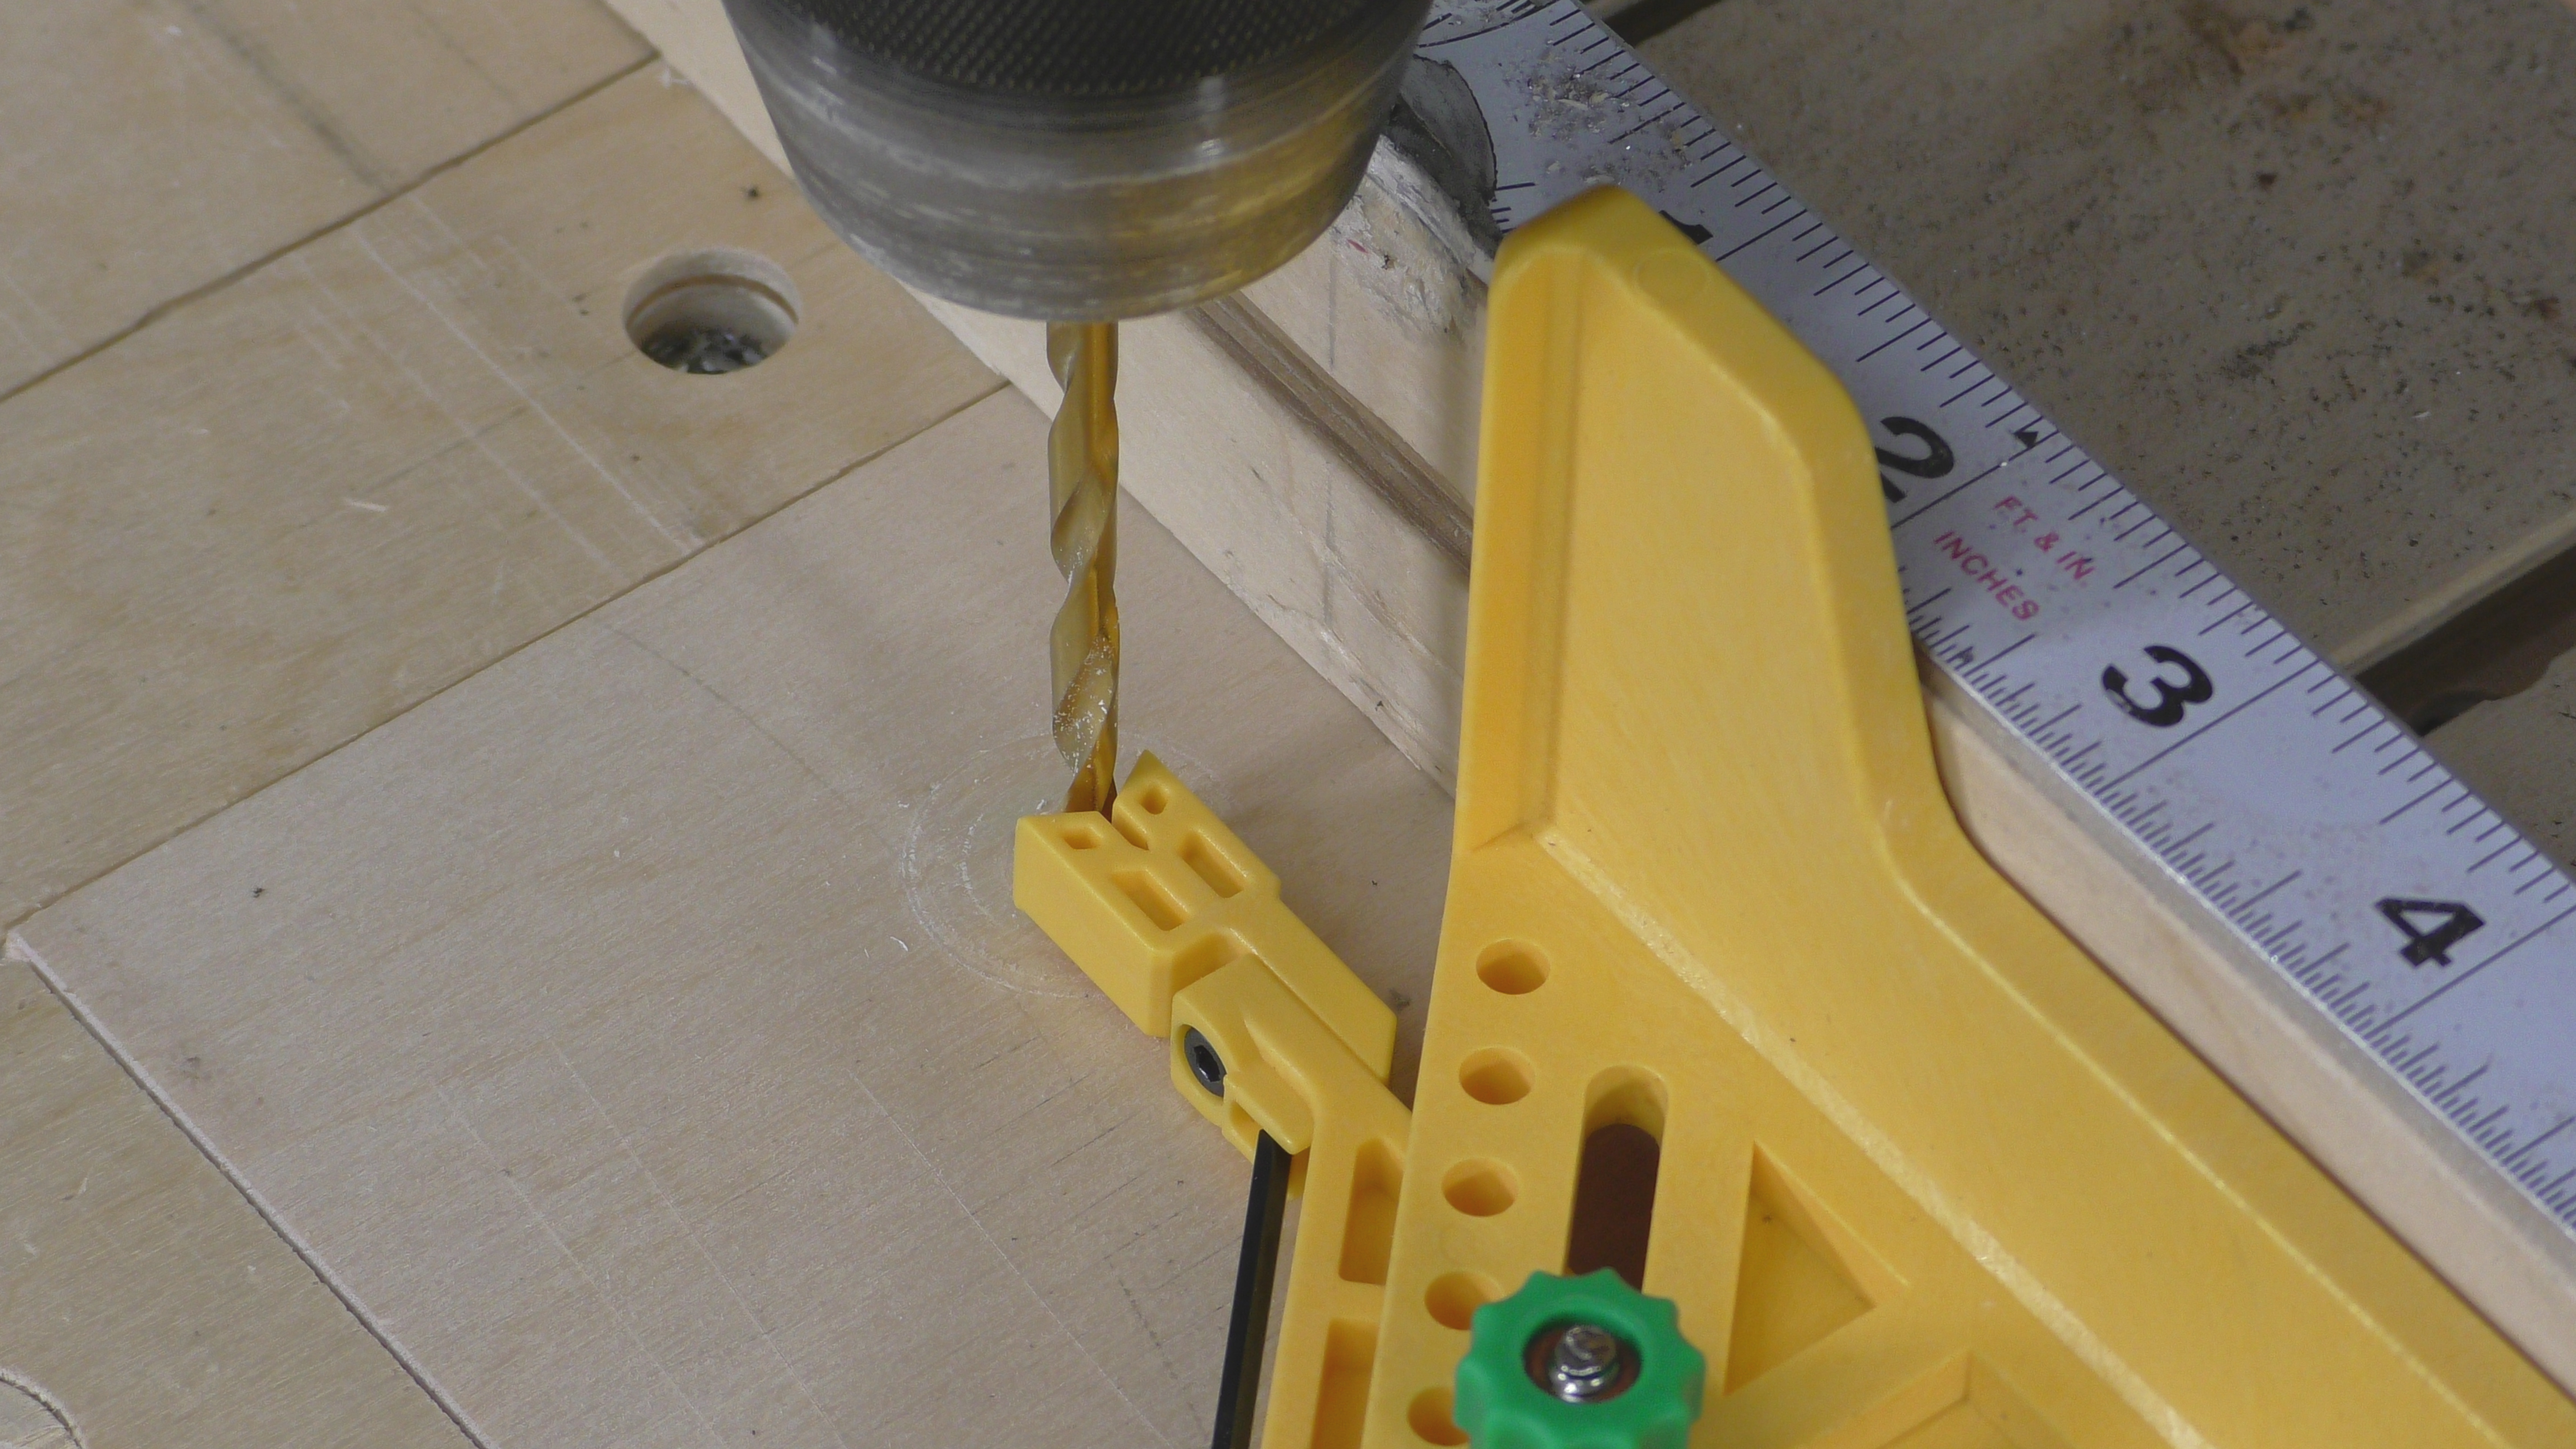
Lock the fence and you are ready to drill a hole in the center of your stock.
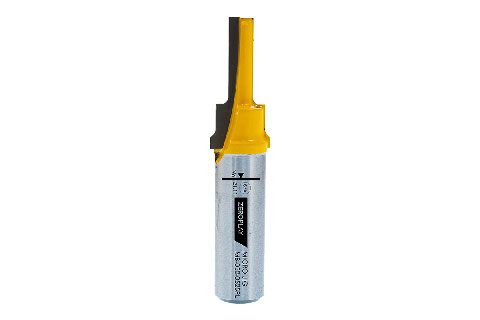
If you are using an unusual drill like a spade bit or our2-Step Router bit, you can still use the FitFinder; Mount a steel pin in the chuck to center your fence the same way we did with the drill bit.
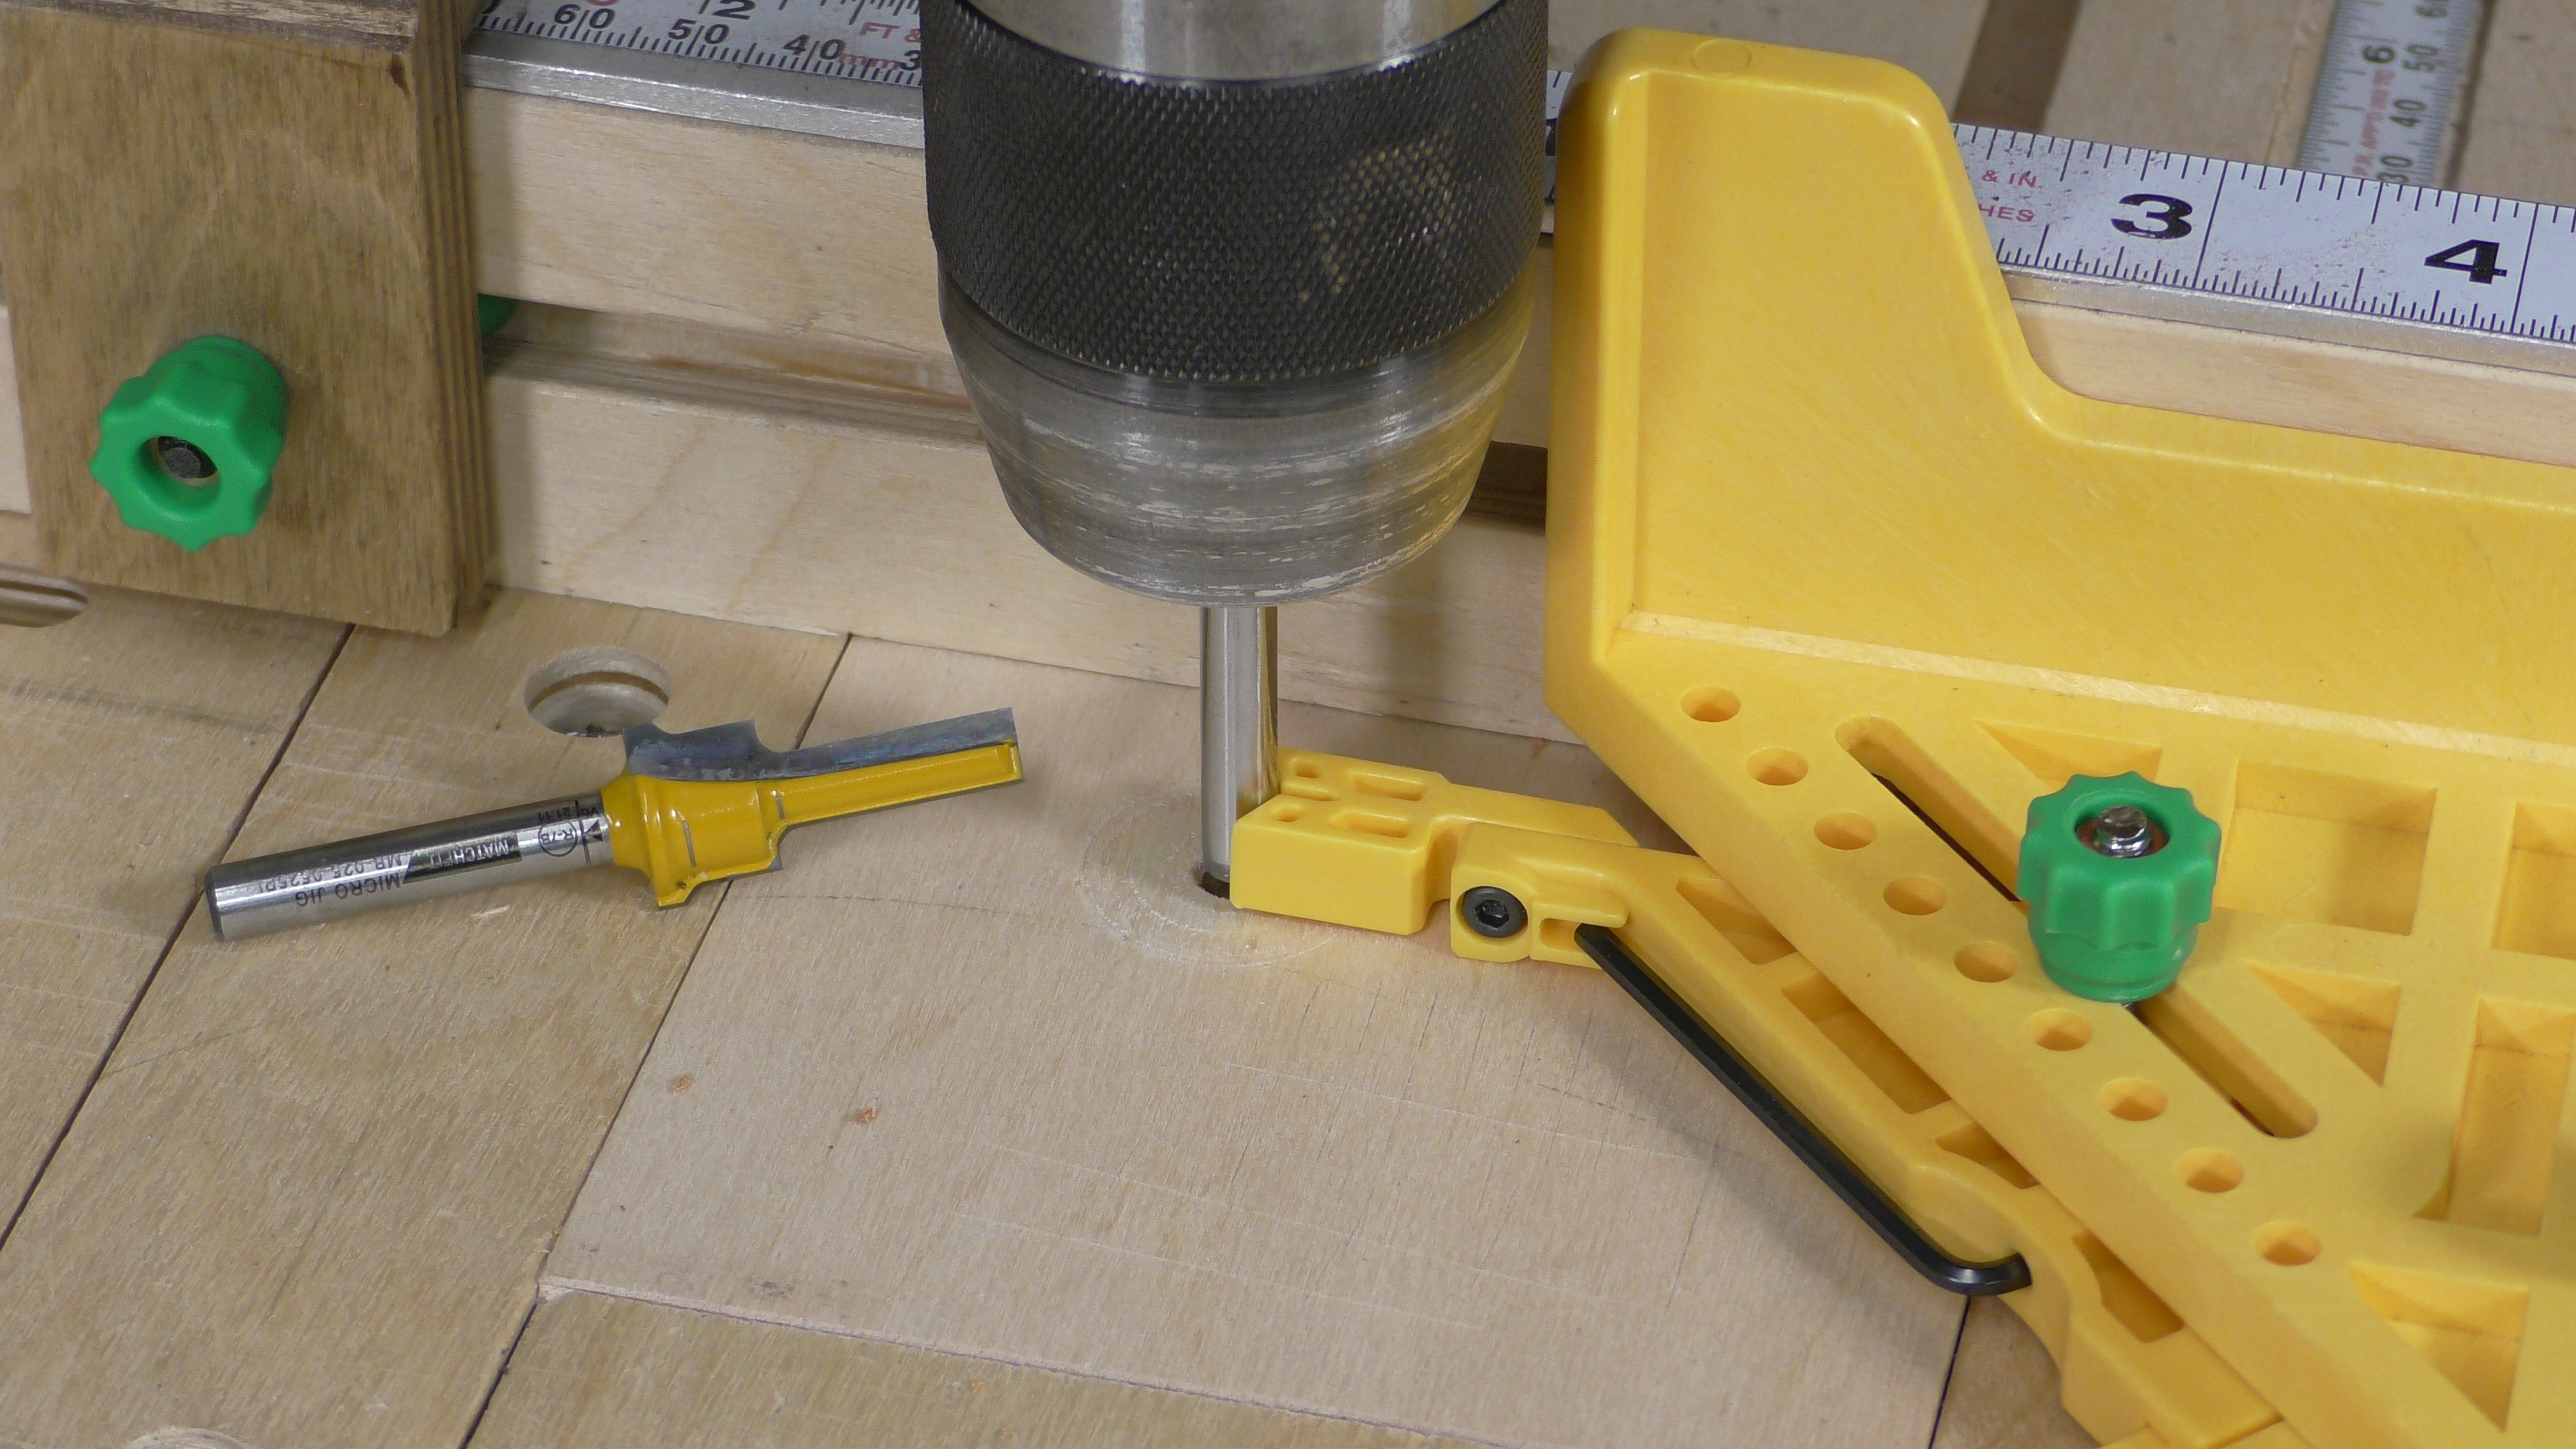
Use a steel pin as shown or you can cut the head off a long bolt and use that. You just need a round surface to center P6 on.